

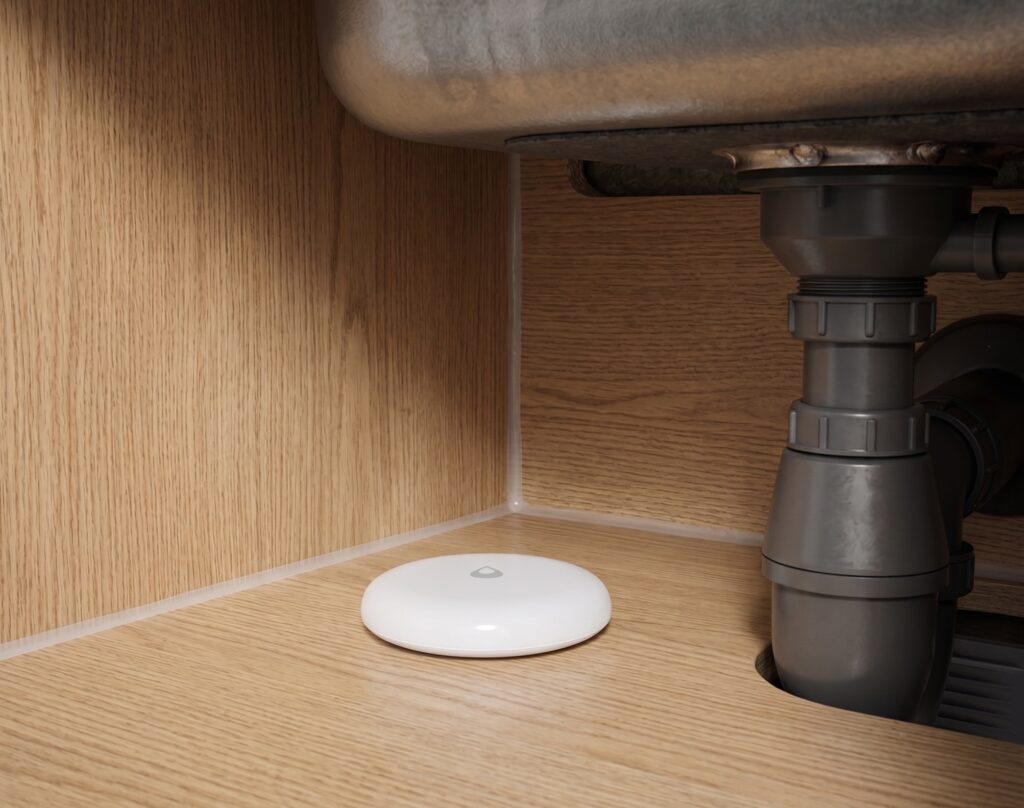
Aqara Water Leak Sensor in Home Assistant (No Hub)
The Aqara water leak sensors SJCGQ11LM, SJCGQ12LM (T1), and SJCGQ13LM (E1) are supported by Zigbee2MQTT. You can pair them to your own supported Zigbee coordinator and send their readings to Home Assistant through MQTT, without an Aqara hub or account.
Retailer wording about requiring an Aqara hub describes the Aqara Home route. This guide uses Zigbee2MQTT instead, with model-specific entity differences, pairing steps, leak and battery alerts, and a test at the final installation location.
Does the Aqara water leak sensor really need a hub?
It needs a Zigbee network, but its coordinator does not have to be an Aqara hub. Zigbee2MQTT documents support for SJCGQ11LM, SJCGQ12LM, and SJCGQ13LM. Use a coordinator supported by that software; “Zigbee” on a box is not a guarantee that an arbitrary hub will expose the sensor to Home Assistant.
The sensor pairs to one Zigbee network at a time. Moving it from an Aqara hub to Zigbee2MQTT means pairing it to the new network rather than keeping both connections active.
Which model do you have?
Read the model number on the sensor or packaging. All three provide leak detection and battery information, but they do not expose an identical set of diagnostics.
| Feature | SJCGQ11LM, original | SJCGQ12LM, T1 | SJCGQ13LM, E1 |
|---|---|---|---|
| Zigbee2MQTT support | Yes | Yes; WL-S02D is a listed alias | Yes |
water_leak |
Yes | Yes | Yes |
| Battery percentage and voltage | Yes | Yes | Yes |
battery_low |
Yes | Yes | Yes |
tamper |
Not listed | Listed | Not listed |
| Device temperature diagnostic | Listed | Not listed | Listed |
| Power-outage count diagnostic | Listed | Not listed | Listed |
| Battery | CR2032 | CR2032 | CR2032 |
The table follows the current Zigbee2MQTT device pages. Some diagnostic entities may be disabled in Home Assistant by default. There is no need to infer your model from how recently you bought it; older stock and regional names remain in circulation.
What you need before you start
- A Zigbee2MQTT-supported coordinator and a working Zigbee2MQTT installation.
- An MQTT broker, such as Mosquitto, connected to Home Assistant’s MQTT integration.
- The sensor with a working CR2032 battery.
Home Assistant discovery must also be enabled in Zigbee2MQTT. Current configuration uses homeassistant: with enabled: true beneath it; the configuration reference shows the structure.
For a USB coordinator, place the radio away from the computer, USB 3 equipment, and other sources of interference. An extension cable often helps. It is one check alongside battery condition and mesh coverage, rather than a cure for every pairing problem.
Pairing the sensor step by step
The sensor is a sleeping end device. Zigbee2MQTT needs enough communication to finish its interview before it can publish a useful device to Home Assistant.
- Place the sensor close to the coordinator or a compatible nearby router and enable Permit join in Zigbee2MQTT.
- Press and hold the top of the sensor at the water-drop logo for about five seconds, until the blue light blinks. The button is under that part of the casing.
- Release and watch the Zigbee2MQTT log. It should identify the model and complete the interview.
- If communication stalls, use short button presses to wake the sensor. The original SJCGQ11LM device page specifically suggests waiting a second after the reset and pressing briefly twice when pairing is difficult. Repeated long holds restart joining, so avoid those during an interview.
- Once the interview succeeds, assign a friendly name and close the join window.
- Find the new device under Home Assistant’s MQTT integration, then test a wet and dry report.
When migrating the original sensor, Zigbee2MQTT recommends turning off the old network during pairing. If the interview repeatedly fails, retry near the coordinator with a fresh battery. Its device page also documents joining through a selected nearby router; selecting that router does not guarantee the sensor will choose it as its parent.
What you’ll see in Home Assistant
The main entity is a binary sensor for water_leak. Zigbee2MQTT’s MQTT value is true or false; Home Assistant presents the entity state as on or off, usually displayed as Wet or Dry. Use the HA state in an HA automation.
Battery reports an estimated percentage, and the first report can take up to 24 hours. Voltage gives battery voltage in millivolts. battery_low is a separate low-battery indication and is useful for a replacement reminder.
Tamper is listed for T1, not all three sensors. Check its actual behavior on your unit before relying on it; it is separate from water detection and is not a general-purpose “someone touched the sensor” event.
The original and E1 also expose device-temperature and power-outage diagnostics. Those are diagnostic readings, not extra controllable outputs or a substitute for a room temperature sensor. The water sensor itself cannot switch a valve or appliance.
Leak detection is reported when the bottom contacts detect conductive water. There is no supported /get command for an on-demand leak reading, so test an actual wet-to-dry transition instead of trying to poll the sensor.
Cloud vs. local — what actually changes
With a local broker, the path is sensor → Zigbee coordinator → Zigbee2MQTT → MQTT → Home Assistant. That path does not involve Aqara’s servers. Home Assistant can evaluate a leak and trigger a local siren or create a persistent notification while your internet connection is down, provided the local equipment is running.
Phone push notifications are a separate delivery path and may depend on external services and connectivity. The same distinction applies to the Aqara route: local hub automations and cloud-delivered phone alerts are different functions. Pairing through Zigbee2MQTT does not make every kind of notification independent of the internet.
Building a useful water leak automation
Start with a persistent notification in Home Assistant, which avoids an invalid example phone-service name. Paste this into a new automation’s YAML editor and replace the entity ID with your leak sensor.
alias: Water leak detected
triggers:
  - trigger: state
    entity_id: binary_sensor.water_leak_sensor_water_leak
    to: "on"
conditions: []
actions:
  - action: persistent_notification.create
    data:
      title: "Water leak detected"
      message: "{{ trigger.to_state.name }} reports water. Check its location immediately."
      notification_id: water_leak_alert
mode: single
For a phone alert, add your actual Companion App notification action using Home Assistant’s action selector, then test delivery on that phone. If you have a local siren, add its real entity as another action. A persistent notification is visible in Home Assistant; it does not itself make a sound or push a message to your phone.
A separate low-battery automation keeps a depleted sensor from being overlooked. This is also a standalone automation for the YAML editor:
alias: Water sensor battery low
triggers:
  - trigger: state
    entity_id: binary_sensor.water_leak_sensor_battery_low
    to: "on"
conditions: []
actions:
  - action: persistent_notification.create
    data:
      title: "Water sensor battery low"
      message: "Replace the CR2032 in {{ trigger.to_state.name }}."
mode: single
Multiple locations: list several leak entity IDs under the first trigger’s entity_id—under the sink, behind the washing machine, and near the water heater, for example. The trigger.to_state.name template identifies which one triggered. Give the entities meaningful names first.
A state-change automation alerts when the entity changes to wet; it is not a periodic reminder for a sensor that was already wet. Test the full automation, inspect its trace, and decide whether you also need repeat reminders or a startup check. Any automatic shutoff should use an appropriate valve or an appliance control suited to that purpose, rather than assuming a smart plug is safe for every leak scenario.
Placement
Place the bottom contacts where water from the likely leak will reach them. Under a sink, beside a washer or dishwasher, and near a water heater are useful candidates. A raised shelf or an uneven floor can leave the contacts above the water path.
The sensor is a Zigbee end device and does not extend the mesh. Cabinets, appliances, metalwork, and walls can weaken the signal. A compatible mains-powered router may help, but confirm reporting after placement rather than relying only on a mesh diagram.
Test the sensor and the alert before relying on either. Wet the bottom contacts with a small amount of water, confirm Home Assistant shows wet and the notification arrives, then dry the contacts and confirm it returns to dry. Avoid immersing the sensor just to test it. Repeat the wet/dry check at its final location and after changing the battery or network.
Troubleshooting
Sensor won’t pair — keeps failing mid-interview
Check permit join, reset using the five-second hold, and watch the interview. Short presses may help a sleeping sensor communicate; persistent failures also call for a battery check and a retry near the coordinator. On SJCGQ11LM, use the model-specific reset/router suggestions linked above rather than assuming sleep is the only possible cause.
E1 (SJCGQ13LM) shows “unsupported manufacturer” error
Current Zigbee2MQTT supports SJCGQ13LM. If a device is marked unsupported, record its model identifier and manufacturer information from the interview and compare them with the current device page. Update an old Zigbee2MQTT installation before considering a custom converter. After the update, re-interview and wake the sensor; remove and re-pair only if that is still needed. An error message alone does not prove that all E1 units share one manufacturer problem.
Sensor drops off the network
Check the battery even if its percentage looks healthy, then compare reporting near the coordinator with reporting at the final location. If failures follow a particular router or cabinet position, try another compatible route or position. For a USB coordinator, separate it from USB 3 equipment and other radio interference. A single fresh report is not proof of a permanently fixed connection, so repeat the leak/clear test after the change.
Battery percentage isn’t showing after pairing
The first percentage report can take up to 24 hours. Check that leak and clear reports arrive while you wait. If all values are missing, investigate the interview and MQTT discovery instead of waiting on battery reporting alone.
The hub question, answered
These three models can feed Home Assistant through Zigbee2MQTT without an Aqara hub. Use the model table for the correct entity set, then verify both wet and dry reports where the sensor will actually sit. Local detection is only useful if the alert reaches the person or device that needs to act.
If you also want environmental readings, the temperature and humidity sensor guide uses the same MQTT discovery route. The Aqara Hub M2 guide covers the Aqara ecosystem option.
Author: N. Lee