

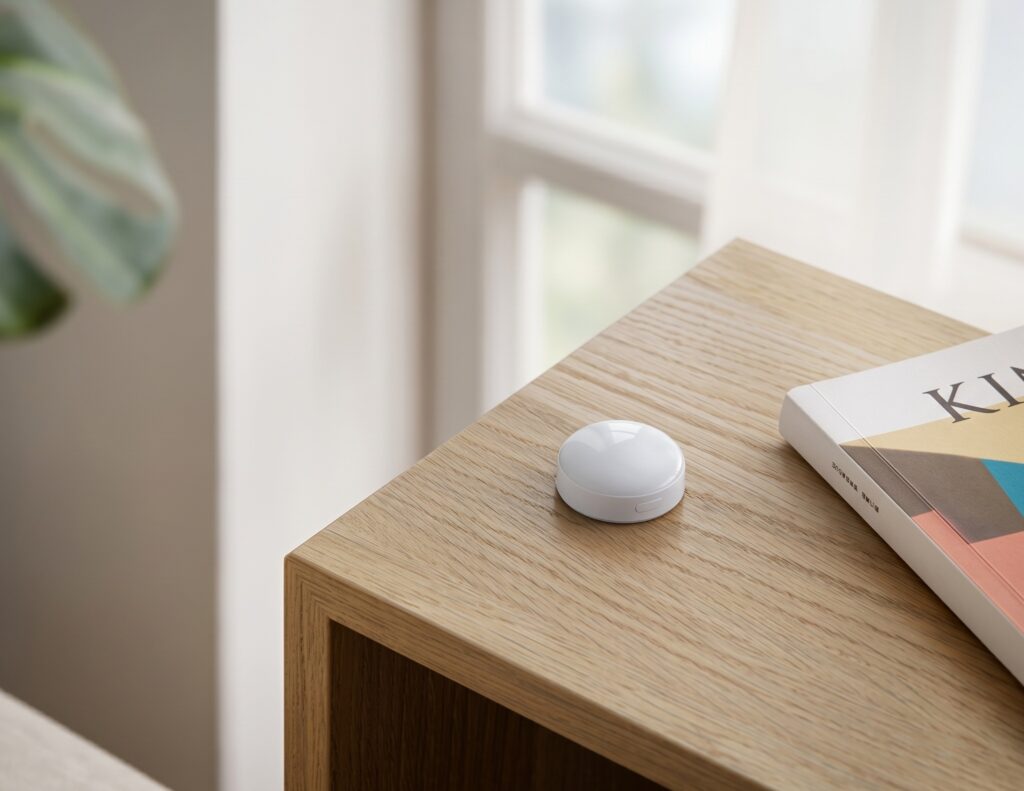
Aqara Light Sensor T1 (GZCGQ11LM) in Home Assistant via Zigbee2MQTT: No Hub Needed
The Aqara Light Detection Sensor T1 (GZCGQ11LM) is one of the cheaper ways to get a dedicated lux reading into Home Assistant. It measures from 0 to 83,000 lux, runs on a coin cell, and pairs directly to any Zigbee2MQTT coordinator — no Aqara hub required, nothing routing through Aqara’s cloud.
This guide covers pairing, the four entities it exposes, how to configure the detection period, calibration options, and two practical automations. It also addresses the questions that show up in every Z2M thread about this device: why illuminance shows “unavailable” right after pairing, what to do when the detection period slider times out, and — since this gets asked a lot — whether it also measures temperature. (It does not.)
What you need before you start
- A running Zigbee2MQTT stack — a Zigbee coordinator (CC2652P, SkyConnect, ConBee II, or similar), Mosquitto broker, and Z2M integrated with Home Assistant via MQTT discovery. This guide picks up from there; it doesn’t walk through Z2M setup from scratch. If you need that foundation, our Aqara E1 Hub + Home Assistant guide covers it in the context of Aqara devices.
- The GZCGQ11LM itself — sold as the Aqara Light Detection Sensor or Aqara Light Sensor T1. It ships with a CR2450 coin cell installed and a small magnetic mount in the box.
One check worth making before you start: if your Zigbee coordinator is plugged directly into a USB 3.0 port, move it to a USB 2.0 extension cable (1–2 meters). USB 3.0 ports radiate interference across the 2.4 GHz band and can cause pairing failures and intermittent drops on any Zigbee device. An extension cable keeps the dongle clear of that noise.
Pairing the GZCGQ11LM to Zigbee2MQTT
The GZCGQ11LM is a sleepy Zigbee end device. Like other battery-powered Aqara sensors, it spends most of its time asleep to conserve battery. This is fine for normal operation, but it creates a pairing complication: the device can go to sleep partway through the coordinator’s interview before the handshake finishes. The result is a failed or incomplete pairing.
The fix is to keep it awake by pressing the button repeatedly throughout the process.
- Open the Zigbee2MQTT dashboard and click Permit join (All).
- Press and hold the button on the sensor — the small button on the face — for about 5 seconds until the blue LED blinks. This initiates pairing (or factory-resets and re-pairs if the sensor was on a previous network).
- After the initial long press, tap the button once every second or two. Keep tapping continuously.
- Watch the Zigbee2MQTT log. You’re waiting for the interview to complete — you’ll see the coordinator exchanging cluster data with the device. When the log confirms it’s joined and interviewed, you can stop tapping.
- The device will appear in your Z2M devices list. Assign it a friendly name. Home Assistant will auto-discover the entities if MQTT discovery is enabled (
homeassistant: truein your Z2Mconfiguration.yaml).
Multiple units: there is a known issue where pairing more than one GZCGQ11LM on the same coordinator can fail. If you’re adding a second or third unit, pair them one at a time with a Z2M restart between each. Don’t try to pair two simultaneously.
What Home Assistant sees after pairing
Once the interview finishes and Z2M publishes discovery, four entities appear in Home Assistant:
illuminance — the lux reading. This is the entity you’ll use in automations. Measurement range is 0–83,000 lux, with ±2% accuracy under incandescent light and ±5% for other visible light sources.
battery — percentage. Expect a fresh CR2450 to report at or near 100%. One caveat: battery percentage can take up to 24 hours to first appear after pairing. If this entity shows “unavailable” on day one, give it time before assuming something went wrong.
voltage — raw battery voltage in millivolts. Mostly useful if you want to build your own battery-degradation tracking. The battery percentage entity covers most monitoring needs.
detection_period — read/write, 1 to 59 seconds. This controls how frequently the sensor checks for a light-level change. More on this below.
One thing people notice immediately after pairing: the illuminance entity shows “unavailable.” This is expected. The GZCGQ11LM is event-driven — it only reports when it detects a change in light level. If the light in the room is steady when you pair it, the sensor has nothing to report yet. Walk past it, cover it with your hand, or flick a light on or off, and the entity will update. After that first event, it updates normally on subsequent changes.
Configuring the detection period
The detection_period entity controls how often the sensor samples for a light-level change. The valid range is 1 to 59 seconds. The default is somewhere in the 10–30 second range depending on firmware.
For most automations — adjusting lights or blinds based on ambient conditions — a detection period of 10 to 30 seconds is a practical balance between responsiveness and battery life. A 1-second detection period will drain the CR2450 much faster and provides finer resolution than most automations actually need.
Via the Z2M frontend: find the device in Zigbee2MQTT, open its settings panel, and adjust the detection_period slider. This is the straightforward path.
If the frontend slider fails: some units report a ZCL write timeout when the value is written via the Z2M frontend. The workaround is to publish the MQTT set command directly to the device. Using your MQTT client (mosquitto_pub, MQTT Explorer, or the HA MQTT integration’s publish panel):
Topic:   zigbee2mqtt/YOUR_FRIENDLY_NAME/set
Payload: {"detection_period": 15}
Replace YOUR_FRIENDLY_NAME with the name you assigned in Z2M, and 15 with your preferred value in seconds. This bypasses the ZCL write that the frontend uses and typically succeeds where the slider times out.
Illuminance calibration
Two calibration options are available if the raw lux reading doesn’t match your expectations.
illuminance_calibration — a percentual offset. If you know the sensor reads consistently 10% low (e.g., it’s mounted behind a glass enclosure that attenuates the signal), you can apply a +10 correction. Accessible from the device’s settings panel in Z2M.
illuminance_raw — a toggle that exposes the uncorrected raw sensor value as an additional entity alongside the calibrated lux reading. Useful if you’re calibrating against a reference meter and want to see both values in parallel.
In practice, most users don’t need to calibrate. The ±2–5% spec is tight enough for any practical light-control automation. Calibration becomes relevant when the sensor is reading behind a filter, a frosted glass panel, or in an unusual installation where you have a known reference to compare against.
Practical automations
Automation 1: Turn on lights when it gets dark
This triggers when illuminance drops below a threshold and turns on lights — useful for rooms where you want artificial lighting to kick in as daylight fades.
alias: Turn on living room lights at dusk
trigger:
  - platform: numeric_state
    entity_id: sensor.light_sensor_illuminance
    below: 50
condition:
  - condition: time
    after: "14:00:00"
    before: "23:00:00"
action:
  - service: light.turn_on
    target:
      entity_id: light.living_room
mode: single
The time condition prevents the automation firing in the middle of the night when illuminance is low for obvious reasons. Adjust the threshold (50 lux here) to your preference — 50 lux is roughly a dim room, 200 lux is typical indoor ambient, and below 10 lux is dark.
Hysteresis note: if you trigger lights on at 50 lux, the lights themselves will raise the illuminance reading above 50 lux, which will try to turn the lights off, which drops it below 50 lux again — and so on. To avoid this cycling, either use an input_boolean to track “lights were turned on by automation” and gate the off-trigger on it, or use HA’s numeric_state trigger with for: to require the reading to stay below threshold for a sustained period before acting. A for: 0:01:00 (one minute) on the trigger smooths out transient dips.
Automation 2: Close roller shades in direct sun
When illuminance spikes past a high threshold, direct sun is hitting the sensor. This is a natural trigger for closing motorized blinds before the room heats up or the glare becomes a problem.
alias: Close shades in direct sun
trigger:
  - platform: numeric_state
    entity_id: sensor.light_sensor_illuminance
    above: 10000
    for: "0:02:00"
condition:
  - condition: state
    entity_id: cover.roller_shade
    state: "open"
action:
  - service: cover.close_cover
    target:
      entity_id: cover.roller_shade
mode: single
The for: "0:02:00" prevents the shades from closing on a cloud breaking for a moment. 10,000 lux is direct bright sun; diffuse daylight indoors is typically 100–2,000 lux. Adjust the threshold to your sensor placement and local conditions. Our Aqara Roller Shade Driver E1 guide covers the shade driver setup if you’re pairing this with an Aqara motorized blind.
Battery life and placement
The CR2450 is rated for 1–2 years depending on detection_period setting and how frequently the sensor actually fires. Shorter detection periods burn battery faster. A 10–30 second period is where most people land for a reasonable balance.
A few placement notes:
Magnetic back. The sensor has a small magnet built into the back. You can stick it directly to a metal surface — a steel window frame, a metal shelf bracket — or use the included magnetic mount on any flat surface. This is convenient for repositioning without tools.
Avoid direct sunlight. The sensor can technically read up to 83,000 lux without saturating, but placing it where it can see direct unobstructed sun means it will spend most of its time reporting maximum illuminance and provide no useful gradient for automation. Position it to measure ambient room light, not the sun itself.
Sensor faces matter. The light-sensitive element is on the face of the device. Mount it so the face points toward the light source you’re trying to measure — ceiling-mounted facing down, window-mounted facing into the room, and so on.
Battery not appearing on day one. Already noted above, but worth repeating: battery percentage takes up to 24 hours to first report after pairing. This is not a malfunction.
Common questions
Does it work without the Aqara Hub?
Yes. The GZCGQ11LM is standard Zigbee and pairs directly to any Z2M-connected coordinator. The Aqara Hub is one path; Zigbee2MQTT is another. Nothing in the device’s hardware requires the hub.
Does it measure temperature?
No. This is a pure lux sensor. The confusion comes from the Aqara T1 naming — there’s a family of T1 sensors, and the WSDCGQ11LM is the temperature and humidity model. The GZCGQ11LM is a different device that only measures light intensity. If you want temperature alongside lux, you need a separate sensor. Our Aqara Temperature Sensor T1 in Home Assistant guide covers the WSDCGQ11LM setup.
Are OTA firmware updates available?
Yes. Zigbee2MQTT handles OTA updates automatically when a new firmware version is available. When an update is ready, Z2M will offer it and apply it on schedule without manual intervention.
Why does illuminance show “unavailable” after pairing?
The sensor only reports when light level changes. If the room was at a steady light level when you paired it, it hasn’t had anything to report yet. Trigger a light change — cover the sensor or flip a light switch — and the entity will update. From that point on, it reports normally.
The P1 motion sensor also has a lux sensor — do I need both?
The Aqara P1 motion sensor does include a built-in lux measurement, but it reads lux as part of the motion event rather than continuously. If you want a dedicated ambient light reading independent of motion activity — for example, to control lights in a room where there’s no motion sensor — the GZCGQ11LM is the right tool. Our Aqara P1 motion sensor guide covers the P1 if you’re combining both.
No hub, no cloud, no Aqara account. One lux reading every 10–30 seconds, fully local, available to any automation you want to build. The detection period quirk and the initial “unavailable” state trip people up, but both are documented behavior with straightforward solutions. Everything else works out of the box.