

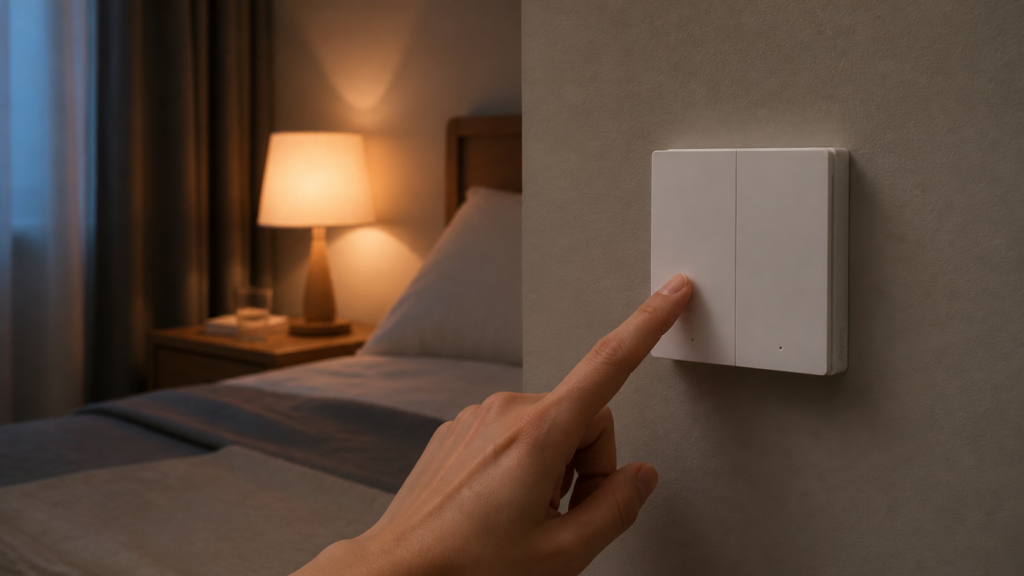
Aqara Wireless Remote Switch H1 (WRS-R02): Zigbee2MQTT Setup Guide
The Aqara WRS-R02 is a wireless double-rocker switch. Pair it to Zigbee2MQTT and use each rocker to control lights, scenes, or other Home Assistant devices. The settings to check first are click_mode and operation_mode: they determine which presses are reported and how the remote behaves.
This guide covers pairing, the available actions, and a first automation. The remote does not need an Aqara hub when it is joined to your own Zigbee coordinator.
Identify the WRS-R02
This is the battery-powered H1 remote, not a wired H1 wall switch. It sends button events; it does not switch a mains circuit or need a neutral wire. As a battery end device, it does not extend the Zigbee mesh.
Zigbee2MQTT lists the WRS-R02 as a white-label model on its WXKG15LM device page. Seeing that name during discovery is therefore expected. Check the model on the unit rather than relying on a retailer’s H1 or E1 label.
What you need
- A working Zigbee coordinator and Zigbee2MQTT installation.
- An MQTT broker connected to both Zigbee2MQTT and Home Assistant, with Home Assistant discovery enabled.
- The remote with a usable battery, placed near the coordinator for its first pairing.
The hub-free Aqara Zigbee guide covers the coordinator setup if you are starting from scratch.
Pairing to Zigbee2MQTT
- Enable joining in the Zigbee2MQTT frontend.
- Hold both rockers for about ten seconds to reset the remote and enter pairing mode, following the device-page instructions.
- Wait for the interview to finish. If configuration times out, wake the remote with a short press and retry while it is awake.
- Give it a clear friendly name, then check its Exposes page and the messages produced by a press.
Move it to its intended location only after pairing succeeds. If presses stop reaching Zigbee2MQTT there, investigate coverage and the parent router before changing the Home Assistant automation.
Reports and Home Assistant entities
Zigbee2MQTT exposes both battery percentage and voltage for this model. The old claim that it reports voltage only is incorrect. Home Assistant’s entity names depend on your friendly name and discovery settings.
| Report | Use |
|---|---|
battery |
Battery percentage; the first report can take up to 24 hours. |
voltage |
Battery voltage in millivolts. |
action |
The button press used by an automation. |
click_mode / operation_mode |
Configuration choices on the Zigbee2MQTT device page. |
A missing sensor.…_action is not evidence of a failed interview. That legacy sensor is deprecated. Zigbee2MQTT recommends MQTT device triggers for new button automations; see its Home Assistant integration documentation.
The 12 button actions explained
In multi click mode, the double rocker can distinguish the following actions. Check the exact value in the Zigbee2MQTT log before assigning it to an automation.
| Press | Left | Right | Both |
|---|---|---|---|
| Single | single_left |
single_right |
single_both |
| Double | double_left |
double_right |
double_both |
| Triple | triple_left |
triple_right |
triple_both |
| Hold | hold_left |
hold_right |
hold_both |
Choose fast if you only need single presses and want them sent without waiting for a possible additional click. Choose multi when double, triple, and hold actions matter. Wake the remote before writing a setting. If a click-mode change will not take, the documented physical fallback is five quick clicks on either rocker.
Build and check an automation
For the usual Home Assistant route, press each action once, then create an automation with a device trigger for this remote. Choose the action offered by the MQTT integration and add a light or scene action. Trigger choices may appear only after Zigbee2MQTT has seen the corresponding press.
You can also match the action field on the main JSON state topic. This example is a complete automation for the Home Assistant automation YAML editor. Replace your_switch_name and light.living_room with your own values; the topic assumes Zigbee2MQTT’s standard JSON output.
alias: H1 left press - toggle living room
trigger:
  - platform: mqtt
    topic: zigbee2mqtt/your_switch_name
    value_template: "{{ value_json.action | default('') }}"
    payload: single_left
action:
  - service: light.toggle
    target:
      entity_id: light.living_room
mode: single
First confirm the MQTT message arrives, then check the automation trace. This separates a radio or broker problem from a trigger or action problem. There is no need to assume that Home Assistant is too slow to catch the press.
Choosing a blueprint
A community blueprint can save time when you want several actions on one remote. Check that it supports this double-rocker model, uses the same action names, and works with your Zigbee2MQTT version. A blueprint written for a legacy action sensor may need that deprecated option enabled or may have a newer MQTT-trigger version.
Start with one single-click action before filling in every field. If the basic automation works but the blueprint does not, compare its expected trigger with the message you recorded.
Using ZHA instead
ZHA is another local integration, but this guide’s action names and configuration steps are for Zigbee2MQTT. With ZHA, inspect the device’s applied quirk and the events from each rocker on your installed Home Assistant version. Do not treat an old issue report as proof that all current ZHA installations fail.
If the left, right, and combined presses are not distinguished, record the model information and actual events before changing integrations. Switching to Zigbee2MQTT requires removing and pairing the device again.
Using an Aqara HomeKit bridge
An Aqara hub may expose a supported remote to Home Assistant through HomeKit Device. What arrives through that bridge depends on the hub’s mapping and firmware; it may not match the twelve raw Zigbee2MQTT actions. Use that route if you already depend on the Aqara hub, and check the discovered controls before planning multi-click automations.
Local control and privacy
The remote communicates over Zigbee, through its mesh parent to your coordinator. With Zigbee2MQTT and the broker on your own network, button delivery does not require an Aqara account or vendor cloud relay. The device has no Wi-Fi or Ethernet connection on which to apply an IP firewall rule.
The resulting automation is local only if its target is also controlled locally. A button that calls a cloud-based light integration still depends on that service. The Aqara internet-dependency guide explains that distinction.
Troubleshooting
- No device appears: confirm joining is enabled, reset with both rockers, and try close to the coordinator.
- Only single presses arrive: check
click_modeand keep the remote awake while changing it. - Both rockers behave alike when bound: the documented binding implementation exposes one endpoint. Use event mode and Home Assistant actions when you need separate left and right functions.
- Messages arrive but the automation does not run: check the friendly-name topic, action spelling, MQTT discovery, and the automation trace.
- Battery is blank: allow time for its first report rather than repeatedly resetting an otherwise working remote.
For other button layouts, see the WXKG15LM/WXKG16LM guide, the Wireless Mini Switch T1, or the Cube T1 Pro.