

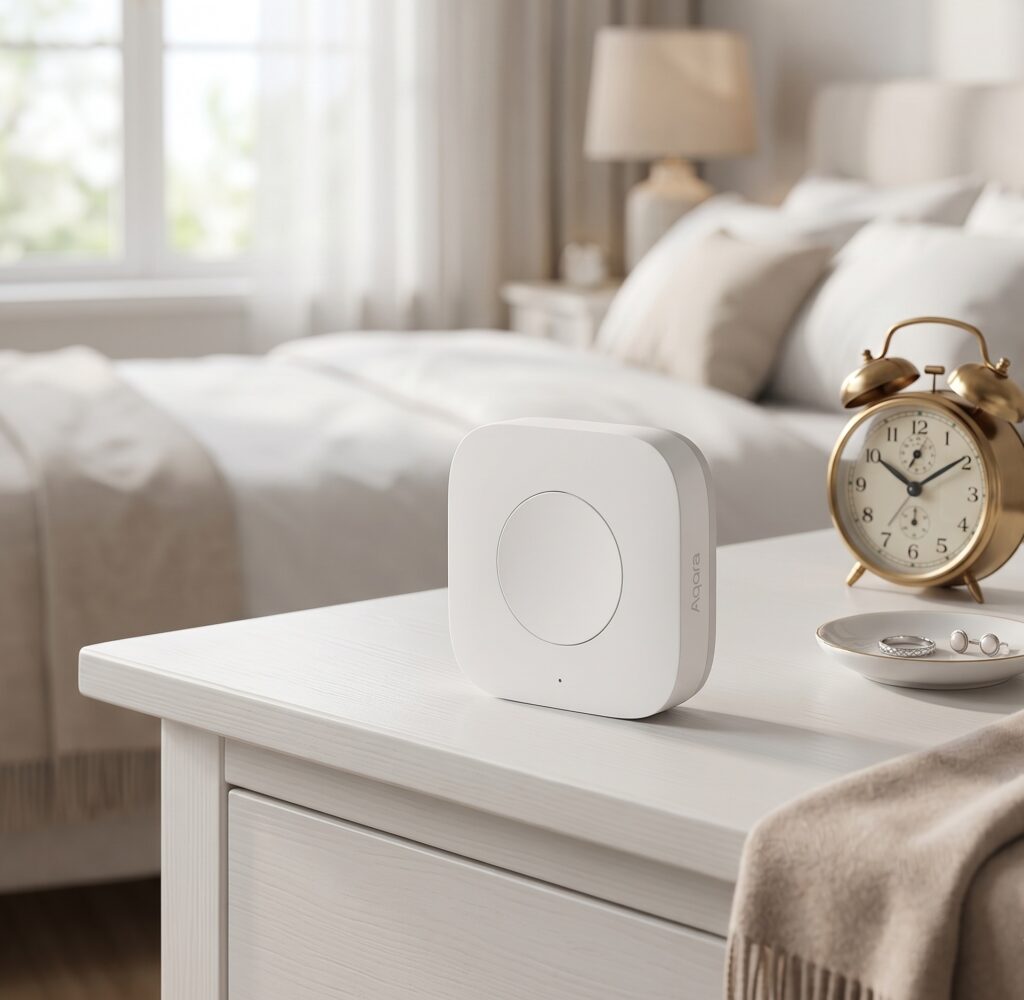
Aqara Wireless Mini Switch T1 (WXKG14LM): HA Setup via Zigbee2MQTT
The Aqara Wireless Mini Switch T1 is a compact battery-powered button that pairs over Zigbee 3.0 directly to Zigbee2MQTT — no Aqara hub, no Mi Home cloud, no account required. Out of the box it works, but there’s a catch: the default configuration suppresses double press, triple press, and hold actions entirely. If you’ve paired the WXKG14LM and only single press is triggering your automations, that’s why.
This guide covers pairing, the click_mode fix, operation_mode explained, and working automation examples for all four action types. If you’re coming from the older WXKG11LM, the process is similar but there are a few new config options worth understanding.
What Is the Aqara Wireless Mini Switch T1 (WXKG14LM)?
The WXKG14LM is the Zigbee 3.0 successor to the WXKG11LM, Aqara’s long-running wireless button. The physical form factor is nearly identical — a small puck you can stick to a wall, stick to a surface, or drop in a pocket. The internals are updated.
Key differences from the older WXKG11LM:
- Zigbee 3.0 instead of Zigbee HA (2.4 GHz) — better interoperability with modern coordinators and meshes
- Triple press action added (the WXKG11LM supports only single, double, and hold)
- click_mode configuration option — controls whether multi-press actions are reported (more on this below)
- operation_mode configuration option — controls whether actions go through Z2M or directly bind to devices
One thing that hasn’t changed: it’s a Zigbee end device, meaning it does not route traffic for other devices on your mesh. Being battery-powered, it sleeps between presses. Make sure it’s within range of a powered router device — a Zigbee plug or hub works well for this.
Prerequisites
Before pairing, confirm you have:
- Zigbee2MQTT running with a compatible coordinator (CC2652, Sonoff Zigbee 3.0 USB Dongle Plus, or similar)
- Home Assistant with the MQTT integration connected to the same broker as Z2M
- Z2M and HA at reasonably current versions — this matters more than usual for this device (see Known Issues below)
A note on Z2M version: a 2025 update changed how Zigbee2MQTT handles action reporting for button devices, including this one. If you’re running Z2M 2.x, the action state entity in Home Assistant becomes unreliable for automation triggers. Use device triggers instead. This guide uses device triggers throughout for that reason.
Pairing to Zigbee2MQTT
- Open the Zigbee2MQTT frontend and click Permit join (All) — or scope it to a specific device if your setup supports that.
- Find the reset pinhole on the bottom of the WXKG14LM. Use a pin or SIM ejector tool.
- Press and hold the reset button for approximately 5 seconds. The LED on the front will blink rapidly to indicate it’s in pairing mode.
- Watch the Z2M frontend. The device should appear within 30 seconds with model
WXKG14LM. If it appears asunknown, try removing it and re-pairing — occasionally the first join doesn’t pull the full device fingerprint. - Give it a friendly name. Something like
button_living_roomorswitch_bedsideworks. Avoid spaces if you plan to publish MQTT commands manually — underscores are easier.
Once paired, the device appears in your Z2M devices list and its entities show up in Home Assistant automatically via MQTT discovery.
Entities in Home Assistant
After pairing, you’ll see these entities in Home Assistant:
- Battery (sensor) — percentage remaining. This can take up to 24 hours to populate after first pairing. If it shows “unavailable” for the first day, that’s normal.
- Action (sensor) — the raw action string (
single,double,triple,hold). In Z2M 2.x, this entity doesn’t fire state_change events reliably for automation triggers. Use device triggers instead. - Click mode (select) —
fastormulti. This is the one you need to change. - Operation mode (select) —
eventorcommand.
The click_mode and operation_mode selects are also configurable from the Z2M frontend under the device’s settings tab, which is the easiest way to change them without touching MQTT directly.
Enabling All Four Actions (The Critical Step)
This is the part most guides skip, and the reason people end up with a button that only responds to single press.
The WXKG14LM ships with click_mode set to fast. In fast mode:
- Single press: reported immediately
- Double press: suppressed
- Triple press: suppressed
- Hold: suppressed
Switch to multi mode and all four actions are reported. The trade-off: in multi mode, there’s a short delay on single press while the device waits to see if a second press follows. In fast mode, single press fires immediately with no wait. For most home automation use cases, the delay in multi mode is acceptable.
How to change click_mode:
Option 1 — Z2M frontend (easiest):
Go to the Z2M device page for your WXKG14LM, find the click_mode select under the device settings or exposes section, and change it from fast to multi. Z2M writes the change to the device.
Option 2 — MQTT publish:
If you prefer to script it or want to do it from the CLI, publish to the device’s set topic:
Topic: zigbee2mqtt/FRIENDLY_NAME/set
Payload: {"click_mode": "multi"}
Replace FRIENDLY_NAME with whatever name you gave the device in Z2M. If you’re using Mosquitto:
mosquitto_pub -h localhost -t "zigbee2mqtt/button_living_room/set" -m '{"click_mode": "multi"}'
After changing to multi, press the button twice quickly. You should see action: double appear in the Z2M device page. If you only see action: single, the device didn’t receive the change — try the MQTT publish method, or check that Z2M is connected to the broker.
Understanding operation_mode
The WXKG14LM has a second config option that’s less commonly discussed: operation_mode.
event (default): The button sends action events through Z2M, which then publishes them to MQTT, which triggers your HA automations. This is the standard path and what you want for normal home automation use.
command: The button binds directly to other Zigbee devices — typically a bulb or group of bulbs — and controls them without Z2M or HA in the loop. This is the Zigbee binding approach: press the button, the bulb toggles, no hub involved. Useful if you want the button to work even when your HA server is down, but it means HA automations for this button won’t fire.
For most setups, leave it on event. The command mode is worth knowing about if you’re building a setup where button response during a server outage matters, but it’s an advanced use case.
To set it via MQTT if needed:
Topic: zigbee2mqtt/FRIENDLY_NAME/set
Payload: {"operation_mode": "event"}
Building Automations in Home Assistant
With click_mode set to multi and operation_mode on event, all four actions are available as device triggers in Home Assistant.
Using device triggers (recommended):
In the HA automation editor, when you add a trigger, choose Device, find your WXKG14LM, and you’ll see trigger options for single press, double press, triple press, and hold. This is the correct approach for Z2M 2.x — the device trigger fires reliably where the action entity state change may not.
Here’s an example automation covering all four actions using YAML device triggers:
alias: "Living Room Button – All Actions"
trigger:
  - platform: device
    domain: mqtt
    device_id: !secret button_living_room_device_id
    type: action
    subtype: single
    id: single
  - platform: device
    domain: mqtt
    device_id: !secret button_living_room_device_id
    type: action
    subtype: double
    id: double
  - platform: device
    domain: mqtt
    device_id: !secret button_living_room_device_id
    type: action
    subtype: triple
    id: triple
  - platform: device
    domain: mqtt
    device_id: !secret button_living_room_device_id
    type: action
    subtype: hold
    id: hold
action:
  - choose:
      - conditions:
          - condition: trigger
            id: single
        sequence:
          - action: light.toggle
            target:
              entity_id: light.living_room_main
      - conditions:
          - condition: trigger
            id: double
        sequence:
          - action: scene.turn_on
            target:
              entity_id: scene.evening_living_room
      - conditions:
          - condition: trigger
            id: triple
        sequence:
          - action: light.turn_on
            target:
              entity_id: light.living_room_main
            data:
              brightness_pct: 100
              color_temp_kelvin: 6500
      - conditions:
          - condition: trigger
            id: hold
        sequence:
          - action: light.turn_off
            target:
              area_id: living_room
A few notes on this YAML:
- The
device_idvalues need to come from your actual HA instance — use the UI editor to set up the first trigger, then switch to YAML to copy the device_id. - If your Z2M device triggers don’t appear in the UI, confirm that MQTT discovery is enabled in Z2M and that the Z2M integration is connected in HA.
- The
holdaction fires once when the hold gesture is detected, not repeatedly while the button is held down. Treat it as a single event in your automation logic.
Known Issues
Action entity unreliable in Z2M 2.x:
A 2025 update to Zigbee2MQTT changed how button action events are emitted. For Aqara button devices, the action sensor entity in HA may not fire state_changed events consistently, which breaks automations that trigger on entity state. The fix is to use device triggers (as above) rather than entity state triggers. If you’re on Z2M 1.x this is less likely to be an issue, but device triggers are the safer pattern regardless.
Battery percentage not showing after pairing:
Normal. The device reports battery on a schedule, not at pairing. Give it up to 24 hours. If it still shows unavailable after a day, try waking the device by pressing the button a few times — this can prompt a battery report.
No OTA firmware updates:
The WXKG14LM does not have OTA update support listed in the Z2M device page, unlike some other Aqara devices. You can check the Z2M OTA page to confirm, but don’t expect firmware updates to be available through Z2M.
Range:
As a Zigbee end device, the WXKG14LM relies on routers in your mesh. If you’re placing it in a corner far from your coordinator, make sure there’s a powered Zigbee router device (a plug, bulb, or hub) in the path. Battery end devices don’t extend the mesh themselves.
Does It Work Without Internet?
Yes, fully. Once paired to Z2M, the WXKG14LM operates entirely on your local network. Pressing the button publishes an MQTT message to your local broker, which triggers HA automations — no Aqara servers involved, no cloud dependency, no account required.
The only time internet matters is if you want to check for firmware updates (and as noted, none are currently listed for this device anyway). For day-to-day operation, pulling the network cable from your router would leave this button working fine on your local LAN.
If you’re also using Aqara hubs on your network, the WXKG14LM does not need to be paired to them. Z2M handles it directly.