

Aqara Spotlight T2 (SSWQD03LM): Local Control via Zigbee2MQTT
The Aqara Spotlight T2, model SSWQD03LM, is a recessed ceiling light that can be controlled locally through Zigbee2MQTT. If you are planning a 全屋智能 (whole-home smart home) renovation, the important choices start with the fitting and beam angle, before the automation. Home Assistant receives this model as a light entity for on/off, brightness, and colour temperature.
For coordinator setup and other devices on the same network, see Aqara Zigbee devices without an Aqara hub.
What the Aqara Spotlight T2 (SSWQD03LM) is
The SSWQD03LM is a recessed ceiling spotlight, not a screw-in bulb. Aqara’s T2-family specifications list a 75 mm cutout, 2700–6000 K tunable white light, and Ra90 colour rendering, with 15°, 24°, and 36° spotlight beams and a 60° downlight option. These are family specifications: match your fixture and driver label to the variant before ordering or installation.
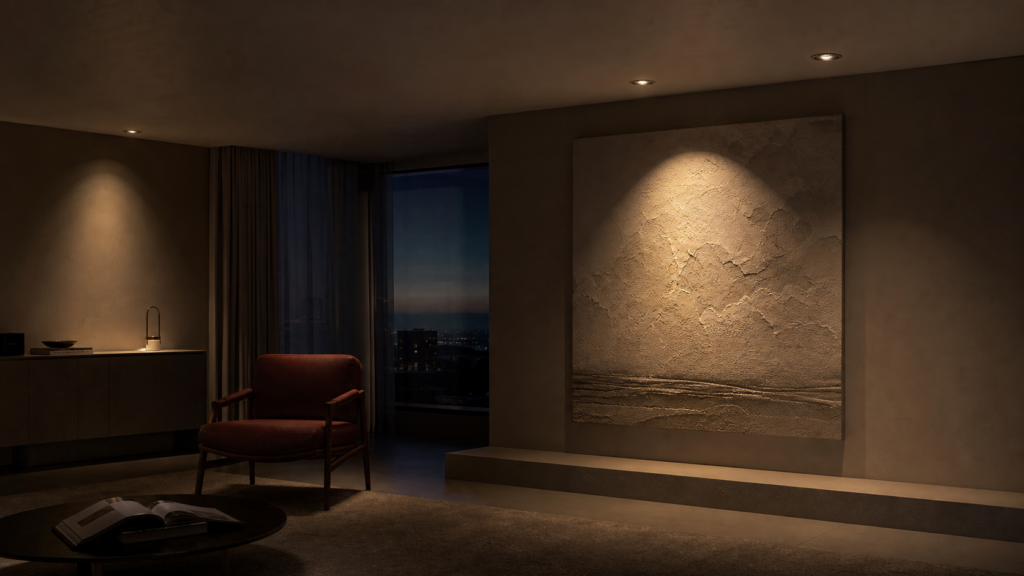
A narrow beam is useful for a specific feature such as an artwork or a wall detail; a wider beam spreads the light over a larger area. Neither the Zigbee converter nor a dimming automation changes that physical beam. Have a qualified installer confirm ceiling clearance, mounting, and mains requirements.
Zigbee2MQTT identifies this model as Spotlight T2. Its device page documents light controls, device temperature, power-outage count, and power-outage memory. The light’s appearance or the name “T2” alone is not enough to identify a compatible variant.
T2 vs. T2 Pro — what’s different
The T2 Pro, SSWQD22LM, has a separate Zigbee2MQTT device page. Check its controls and the release that supports it rather than applying the SSWQD03LM instructions to it by name.
Before pairing: confirm the model and reset procedure
Check the product label and the instructions supplied with the spotlight before resetting it.
Bluetooth protocol-selection instructions for the newer T2 bulb should not be assumed to apply to the SSWQD03LM spotlight. Its Zigbee2MQTT page does not document a mandatory Bluetooth firmware conversion before pairing.
When you might need the Aqara app
Use the app if your exact unit’s manual requires it for setup or maintenance. Once a compatible spotlight is paired to Zigbee2MQTT, ordinary Home Assistant light commands travel through your local coordinator.
Preparation checklist
- Confirm that the label says SSWQD03LM and check its supported-device page.
- Have the fixture installed safely, with access to its normal power control.
- Find the factory-reset or pairing procedure in the supplied manual.
- Back up Zigbee2MQTT and enable Permit join before starting that procedure.
Do not flash firmware or repeat reset sequences taken from a different T2 product. If the manual does not match your unit, confirm the regional variant with the seller or Aqara support.
Pairing to Zigbee2MQTT
With Permit join enabled, put the spotlight into pairing mode using its model-specific instructions.
Put the spotlight into pairing mode
Use the reset sequence for this spotlight, rather than a generic count of power cycles:
- Enable Permit join in Zigbee2MQTT.
- Follow the spotlight manual’s pairing/reset sequence using the normal switch or documented control.
- Wait for a successful interview, then check that the model is SSWQD03LM.
- Disable Permit join and test on/off, brightness, and colour temperature.
If nothing appears in the log, check power, pairing mode, and coordinator range. If the device joins but remains unsupported, save the reported model and manufacturer identifiers and compare them with the device definition.
What Z2M identifies it as
Once paired, Z2M will show the device as:
- Model: SSWQD03LM
- Vendor: Aqara
- Description: Spotlight T2
- Model ID: lumi.light.acn026
Verifying the device in the Z2M dashboard
Open the device page after the interview completes. If light controls are missing, check the interview log and matched model before assuming a browser refresh will fix it.
What Home Assistant exposes
Enable Zigbee2MQTT’s Home Assistant discovery and connect Home Assistant’s MQTT integration to the same broker. The spotlight should then appear as a light entity.
On/off and brightness
The light entity provides on/off and brightness. Zigbee2MQTT uses a 0–254 brightness range, while the Home Assistant interface shows a percentage. Test both the command and reported state after pairing.
Color temperature
Adjustable colour temperature lets you use warmer light in the evening and cooler light during the day.
The converter documents a 153–370 mired range. In current Home Assistant actions, use color_temp_kelvin and stay within the range shown on the light entity.
Zigbee2MQTT accepts named presets such as coolest and warmest on color_temp. These are colour-temperature commands, not a documented color_temp_startup setting for this model.
The converter’s mired limits correspond to roughly 2700–6500 K. A physical lamp’s advertised range may be narrower, so check the unit’s specifications and the light entity before choosing automation values.
OTA updates via Z2M
The device page lists OTA support. Use Zigbee2MQTT’s OTA interface to check for an available image and follow its update instructions. Support for OTA does not mean new firmware is always available.
Building local lighting automations
Home Assistant can schedule colour temperature, group lights, and combine them with occupancy or other local signals. Start with simple controls before adding automatic adjustments.
Simple scene: warm at night, cool in the morning
A simple schedule can set cooler light in the morning and warmer light in the evening:
- alias: "Spotlights — morning cool"
  triggers:
    - trigger: time
      at: "07:00:00"
  actions:
    - action: light.turn_on
      target:
        entity_id: light.spotlight_living_room
      data:
        color_temp_kelvin: 4300
        brightness: 200

- alias: "Spotlights — evening warm"
  triggers:
    - trigger: time
      at: "20:00:00"
  actions:
    - action: light.turn_on
      target:
        entity_id: light.spotlight_living_room
      data:
        color_temp_kelvin: 3000
        brightness: 128
Add these entries to automations.yaml and replace the entity ID. They turn the light on at the scheduled times. Add conditions if you only want to adjust lights that are already on.
Circadian lighting with the adaptive_lighting integration
The custom adaptive_lighting integration can vary brightness and colour temperature throughout the day. Configure it for the discovered light entity, and test manual overrides as well as automatic changes. Use the project’s current installation instructions.
日夜节律 means circadian rhythm. For this lighting setup, that means changing the white-light temperature and brightness through the day: cooler for tasks, warmer and dimmer later. Choose the values for the room and the people using it. This is a lighting preference, not evidence of a health benefit from a particular schedule.
Light groups for multiple spotlights
For several spotlights in one room, a Home Assistant light group provides one entity to use in automations. The following belongs in configuration.yaml:
light:
  - platform: group
    name: "Living Room Spotlights"
    entities:
      - light.spotlight_t2_1
      - light.spotlight_t2_2
      - light.spotlight_t2_3
      - light.spotlight_t2_4
Commands sent to the group apply to its members. You can still control an individual light separately. Use the group entity in the scheduled actions if you want the whole room to change together.
What changes when the lights use Zigbee2MQTT
This route changes who manages the lights: Zigbee2MQTT handles their Zigbee connection and Home Assistant handles your automations. It removes the Aqara hub from that control path.
Using Apple Home through Home Assistant
If you also use Apple Home, Home Assistant’s HomeKit Bridge can expose the light entities. That is separate from pairing the spotlights to an Aqara hub.
After a power cut, check the light’s reported state and its power_outage_memory setting. Local integration does not guarantee a particular restart state or remove the need to test recovery.
Keep router-capable lights powered
Router-capable lights can help extend a Zigbee mesh while they remain powered. Check the device type in Zigbee2MQTT. A light switched off at the mains cannot relay traffic, so do not rely on it as the only route to nearby sensors.
Everyday control and maintenance
Ordinary commands use Zigbee2MQTT and Home Assistant. The device page also lists OTA support, although downloading an available firmware image needs network access. See does Aqara work without internet for the distinction between local operation and online maintenance.
Check support separately for the T2 Pro
For an SSWQD22LM installation, use that model’s support page and manual. Do not assume that its reset procedure, controls, or electrical specifications are identical to the SSWQD03LM.
For related lighting setups on the same local path, see our guides to the Aqara LED Bulb T2 and the Aqara Ceiling Light T1M (CL-L02D). If you’d rather keep a hub in the loop for Matter bridging, the Aqara Hub M3 Matter bridge guide covers that path.
Before relying on the installation, test the group controls, scheduled actions, and behaviour after a normal power interruption.