

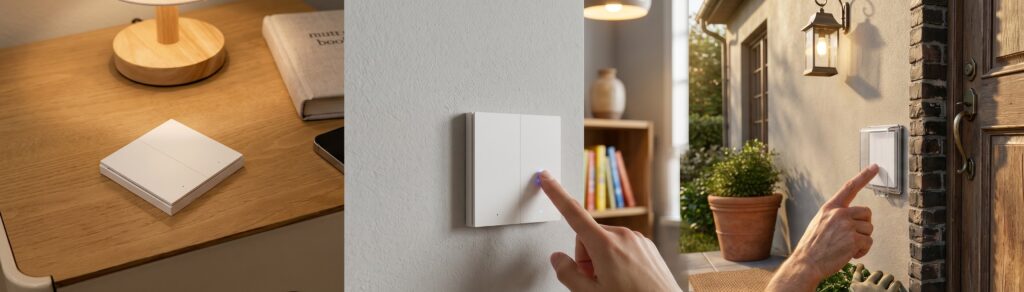
Aqara D1 Triple Wall Switch in Home Assistant via Zigbee2MQTT
The D1 triple-rocker switch gives Home Assistant three separately controlled relays and button actions. The no-neutral QBKG25LM and neutral-wire QBKG26LM share much of the setup, but differ in electrical requirements, metering and mesh routing. Check the model label before installation or pairing.
Identify the triple-rocker variant
This guide covers QBKG25LM and QBKG26LM. D1 single- and double-rocker switches have different model numbers; do not copy their ratings or endpoint names into a triple-rocker installation.
Neutral wiring and load ratings
The QBKG25LM is the no-neutral version; the QBKG26LM requires neutral. Have a qualified electrician confirm the wiring, load type, usable box space and suitability for the local supply.
Aqara’s D1 specifications list the QBKG25LM at a maximum 1600 W overall and a 3 W minimum, and the QBKG26LM at a maximum 2200 W across its three channels. These figures are not permission to apply the maximum separately to all three channels, or to use any motor or LED load without checking its requirements.
Router and end-device roles
The neutral-wire QBKG26LM can act as a Zigbee router. The no-neutral QBKG25LM is an end device, so plan nearby router coverage for it. A wall switch cannot simply be moved beside the coordinator for troubleshooting; improve the radio path to its installed position.
What you need
- A properly installed switch with compatible loads.
- Zigbee2MQTT with a supported coordinator and MQTT broker.
- Home Assistant’s MQTT integration and Zigbee2MQTT discovery enabled.
The hub-free Aqara guide covers the coordinator and broker setup.
Pair the D1 with Zigbee2MQTT
Pairing changes network membership. Keep the physical circuit working normally first, then establish its connection to Zigbee2MQTT before enabling scene automations.
Move it from an existing hub
If the switch belongs to another Zigbee network, record any settings and automations you need to rebuild, remove it from the old system where practical, then follow its reset procedure. A switch already working on the intended network does not need a fresh reset.
Pairing steps
- Enable Permit join in Zigbee2MQTT.
- For the QBKG25LM, the device notes specify holding a button for about ten seconds until the blue indicator blinks and stops, then releasing and waiting. For the QBKG26LM, follow the reset sequence supplied with the exact switch.
- Wait for the interview to complete, confirm the model and give the device a useful name.
- Close Permit join and test each relay from Home Assistant.
Check the current QBKG25LM or QBKG26LM device entry if the interview or settings are incomplete.
Check the discovered device
Find the switch under Home Assistant’s MQTT integration. Entity names depend on your friendly name and discovery settings. Verify the mapping from each entity to the physical load before writing automations.
Left, centre and right relays
Zigbee2MQTT uses state_left, state_center and state_right for the three endpoints. Home Assistant discovers separate switches. Turn each on and off and check that the expected light responds.
The QBKG26LM also reports power, voltage and energy. Treat those as device-level readings; the documented exposures do not provide a separate meter for each rocker.
Button actions
- Individual presses:
left_single,left_double,center_single,center_double,right_single,right_double. - Two-rocker presses:
single_left_center,double_left_center,single_left_right,double_left_right,single_center_right,double_center_right. - All-rocker presses:
single_allanddouble_all.
In Home Assistant, create an automation, add a Device trigger, select the discovered D1 and choose the press you reproduced. For example, a decoupled left single press can run a room scene while the centre and right buttons retain direct relay control. Test that scene independently before attaching the button.
Check the MQTT message when pressing a rocker. The documented action strings include left_single, center_single and right_single, their double-press equivalents, and combinations such as single_left_center. These names differ from some H1 models.
Use discovered MQTT device triggers, or an MQTT trigger that matches the action field in the device payload. Repeated identical presses are separate events; an optional legacy action-state sensor is not required.
Set only the options you need
Change one option, verify the reported value and test its physical effect. Retain a record of the settings so a later reset is easy to recover from.
Decouple a rocker from its relay
Set operation_mode_left, operation_mode_center or operation_mode_right to decoupled for the intended rocker. Its button can then trigger an automation without directly toggling that relay. control_relay restores the usual button behaviour.
Topic: zigbee2mqtt/<friendly_name>/set
Payload: {"operation_mode_left": "decoupled"}
Replace the MQTT topic’s friendly name with your device name. Decoupling does not itself turn the relay on or resolve load compatibility. Test the intended relay state and decide how the household will operate the circuit if Home Assistant is unavailable.
Power-outage memory
The power_outage_memory control is a boolean: use true to enable recovery of the previous relay state or false to disable it. Check the physical behaviour after a planned, safe power interruption rather than assuming every firmware has the same default.
The QBKG25LM notes include an extra step: after setting outage memory, toggle the switch once with its physical button. Do that before the planned restore-state test. Do not assume a note for the no-neutral model also describes the QBKG26LM’s firmware.
Indicator settings
led_disabled_night enables the switch’s night-time LED-disable behaviour. flip_indicator_light reverses the relationship between relay state and indicator state. Confirm the effect on your switch; neither option changes which load a rocker controls.
Anti-flicker and quick modes
The current QBKG25LM entry exposes mode_switch, with anti_flicker_mode and quick_mode. Do not assume the QBKG26LM exposes that same control. Anti-flicker mode can help with some lights, but is not a substitute for confirming that the load is compatible.
OTA updates
Both current D1 device entries list OTA support. Check whether Zigbee2MQTT offers an image for the installed firmware, keep the radio connection stable, and allow time to verify button and relay behaviour afterwards. Avoid scheduling an update when the household needs the circuit.
Troubleshooting state and button reports
Separate three checks: whether the physical relay operates, whether Zigbee2MQTT receives a message, and whether Home Assistant handles that message. That narrows the problem more effectively than treating every missed update as a known device defect.
A press does not reach the automation
Watch the device’s MQTT messages while pressing the intended rocker. Check the operation mode and exact action spelling. If the message arrives, inspect Home Assistant’s automation trace and discovered trigger. If it does not, inspect radio coverage and the current device definition.
State reports are intermittent
Compare a physical press, a Zigbee2MQTT command and a Home Assistant command. Record whether the relay changes and whether the reported endpoint state follows it. Check logs, coordinator firmware and coverage. Look for an upstream report matching your exact versions before applying a workaround.
Avoid an automation that repeatedly toggles a relay to compensate for stale state; first establish why reporting is failing.
Frequently asked questions
Does it need an Aqara hub? Not when paired directly to a compatible Zigbee2MQTT network.
Can I decouple each rocker? The documented controls are per rocker. Verify each setting and action independently.
Does the no-neutral model meter power? The QBKG25LM entry does not expose the QBKG26LM’s power and energy readings.
Is the wiring interchangeable with an H1? Do not assume it. Model, region, terminals and load ratings all matter. The H1 no-neutral guide covers that separate family.