

Disclosure: This post contains affiliate links. If you buy through them, we earn a small commission at no extra cost to you.
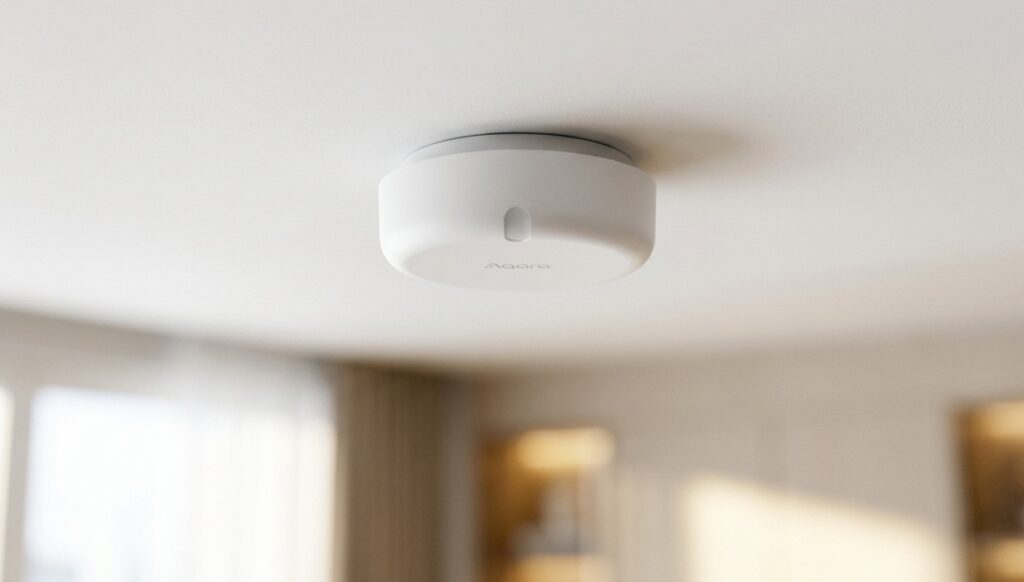
The Aqara Presence Sensor FP2 can detect someone sitting still and distinguish different areas of a room. That makes it useful for automations a motion sensor struggles with: keeping a reading light on while someone sits on the sofa, for example, without lighting the whole room.
For Home Assistant, use the FP2’s HomeKit connection. Home Assistant talks directly to the sensor over your network; an Apple home hub is not required. The Aqara app still handles room layout and zone configuration, so local control and app setup are separate parts of the job.
Presence data and the cloud connection
Zone occupancy can reveal more about a room than a single motion reading. Before choosing an integration, consider both where the automation runs and whether the device can still reach the internet.
A local HomeKit connection keeps the sensor-to-Home-Assistant link on your network. It does not establish that every other connection made by the sensor or Aqara app has stopped. This guide does not include a packet-capture audit of the FP2’s outbound traffic.
The FP2 has no camera or microphone. Its radar detects presence, while the light sensor reports illuminance. Aqara describes support for up to 30 configured zones on its FP2 product page; check the entities your firmware actually exposes to Home Assistant.
Choose the local HomeKit connection
| Part of the setup | What it does |
|---|---|
| Aqara Home app | Provisions Wi-Fi, configures the room and zones, and manages firmware updates |
| Home Assistant HomeKit Device integration | Receives the exposed presence and light readings over the LAN |
| Apple Home | Can own the FP2 directly, or receive selected HA entities through HomeKit Bridge |
| Router firewall | Can deny the FP2 internet access while allowing its local connection |
Start with HomeKit Device, the current name of the integration formerly called HomeKit Controller. Keep the pairing code from the sensor or packaging handy.
Set up the FP2 with Home Assistant
Before pairing
- An FP2 with its HomeKit pairing code
- A running Home Assistant installation
- A 2.4 GHz Wi-Fi network the FP2 can join
- The Aqara Home app for initial setup and zone configuration
Use a stable power supply and mount the sensor according to Aqara’s instructions. Configure its room layout before building automations around individual zones.
Provision Wi-Fi and configure the room
- Add the FP2 in Aqara Home and follow the app’s Wi-Fi setup.
- Check available firmware updates and their release notes.
- Set the room boundaries, exclusion areas, and zones.
- Walk through the room and check that the intended zones change state. Adjust the layout if a sofa, doorway, or neighbouring area is being detected incorrectly.
If setup has also paired the FP2 with Apple Home, remove that accessory from Apple Home before adding it to HA. Remove the HomeKit binding without factory-resetting the sensor or clearing its Wi-Fi settings.
Pair with Home Assistant
- Open Settings → Devices & Services in HA.
- Configure the discovered HomeKit Device entry for the FP2, or add that integration if needed.
- Enter the sensor’s HomeKit code.
- Check the imported presence, zone occupancy, and illuminance entities. Rename them so their purpose is clear in automations.
If discovery fails, check that the sensor is on Wi-Fi, that no other HomeKit controller still owns its pairing, and that mDNS can reach HA. Separate VLANs need suitable discovery and firewall rules. See the HomeKit Device documentation for pairing and network troubleshooting.
HomeKit Device imports accessories into HA. HomeKit Bridge does the reverse: it exposes HA entities to Apple Home. If you want both systems, pair the FP2 with HA first, then expose the entities you need through HomeKit Bridge.
Check the available entities
- Zones: compare HA’s entities with the zones configured in Aqara Home. Do not assume their names or count will match every firmware version.
- Detection: test seated occupants, entrances, and empty-room readings before using the sensor to turn lights off.
- Other features: do not assume fall detection or every app setting is exposed through HomeKit. Check the relevant mounting mode and integration support separately.
- Updates: retain a way to use Aqara Home when you need to change configuration or install firmware.
Do you need a HomePod or Apple TV?
No Apple home hub is needed for the FP2-to-Home-Assistant connection. HA runs the automation and communicates with the sensor directly. Apple hardware can still be useful if you separately want Apple Home features, but buying a HomePod is not a prerequisite for this guide.
Use the HomeKit pairing code for this route. The setup described here does not require extracting a Xiaomi cloud token.
If you want Apple Home without HA: configure the FP2 and its zones in Aqara Home, then add the sensor to Apple Home with its HomeKit code if setup has not already done so. Check the zone accessories and create your Apple Home automations there. Apple documents a HomePod or Apple TV home hub for automations, shared access, and remote control; see Apple’s home-hub instructions. That requirement belongs to this Apple Home route.
A HomeKit accessory binds to one controller at a time. Keep direct Apple Home pairing if that is your chosen route. For HA plus Apple Home, remove the direct Apple Home binding without clearing Wi-Fi, pair with HA, and bridge selected HA entities back to Apple Home.
Check firmware before choosing Matter
Aqara has discussed Matter support for the FP2, but a roadmap is not a firmware release. Check the release notes for your exact sensor before treating Matter as an available integration.
Even if your firmware offers Matter, compare the exposed entities with the zone data you need. Use the working HomeKit route rather than building an automation around a promised future feature.
Block internet access after setup
If you want to prevent the sensor reaching external services, reserve its IP address and deny that device access to the WAN at your router. Allow the local traffic needed between HA and the FP2, including discovery. A rule that also blocks the LAN will break local control.
For separate VLANs, configure mDNS forwarding or a reflector between the sensor and HA networks, then allow HA to reach the discovered accessory’s local address. Successful discovery alone does not prove its control connection is allowed. Check firewall logs for denied local connections before resetting the sensor. HA’s HomeKit Device documentation covers this distinction.
HomeKit Device normally receives pushed updates over Wi-Fi/IP; polling can be a fallback when the connection is unstable. Trigger occupancy while watching HA, then leave the room and confirm the state clears. Repeat after restarting the sensor so the test checks reconnection as well as initial pairing.
DNS filtering can complement the firewall, but a domain list alone is not proof that all outbound connections are blocked. A device may use another hostname or an IP address directly.
After applying the rule, check the router logs and test every zone you use. Confirm that HA still receives updates and that the intended automation runs with internet access denied. Test again after a sensor restart.
Expect Aqara app remote features and firmware downloads to need internet access. Temporarily allow it when you choose to update, then repeat the local-control checks.
Before relying on the automations
Pair the FP2 directly with HA, confirm the zone entities, and test the room in normal use. A presence sensor that works when you walk past it may still need adjustments for someone sitting still or standing near a boundary.
For a local setup, the final check is practical: deny the FP2 internet access and confirm that presence updates and HA automations keep working. That gives you a useful result to verify on your own network.
Hardware referenced:
Aqara Presence Sensor FP2 (Amazon)
Apple HomePod mini (Amazon; optional for a separate Apple Home setup)
Home Assistant Green (Amazon)
Raspberry Pi 4 (Amazon)