

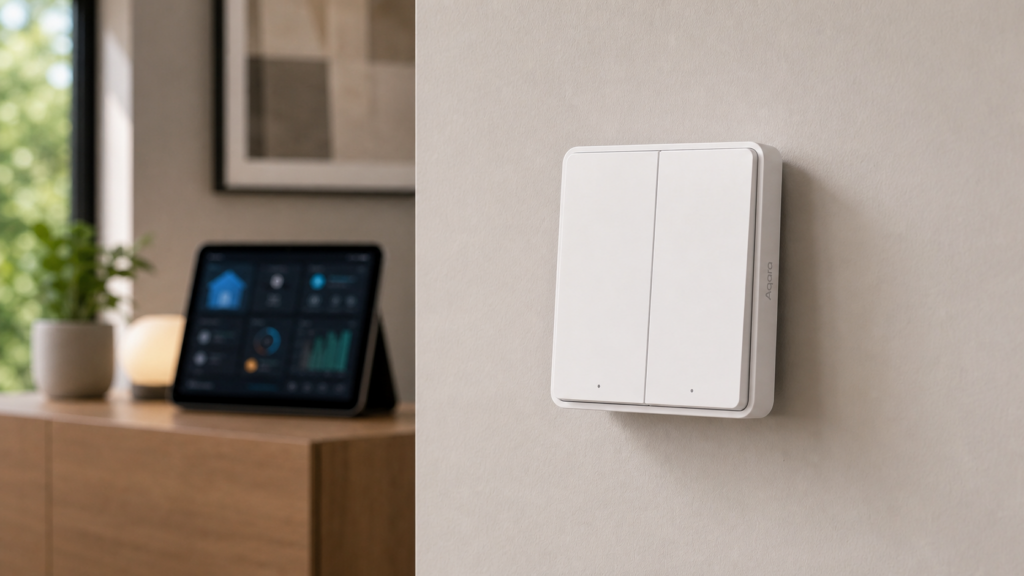
The Aqara WXKG17LM is the double-rocker version of the E1 wireless switch family — two physical buttons, battery-powered, no neutral wire, no hub required when you run it through Zigbee2MQTT. I’ve added a few of these around the house as scene triggers and light controls in places where running cable isn’t an option.
The pairing itself takes about 90 seconds. What catches people out is that the device ships in a mode that only fires single-click events. If you’ve gone looking for your double-click or hold events and found nothing, that’s not a bug — it’s a setting you have to change. This guide covers the full setup path, including that step.
What the WXKG17LM actually does
Two physical rocker buttons — left and right — on a battery-powered device. No wiring. You can mount it anywhere with the adhesive backing or a standard wall box insert. The Zigbee model ID it reports is lumi.remote.acn004.
As a device class it sits in the same Aqara E1 wireless family as the single-rocker WXKG16LM, which we cover in its own setup guide. The double-rocker version adds independent left and right actions, plus a simultaneous both-buttons press. That’s useful if you want one device to handle two rooms or two separate device groups from the same wall position.
Pairing with Zigbee2MQTT
You’ll need a Zigbee coordinator running and Zigbee2MQTT (Z2M) active before starting.
- Open the Z2M frontend and click Permit join (All) — or permit join for a specific device if your coordinator supports it.
- Press and hold the left button on the WXKG17LM until the blue LED blinks. That puts the device into pairing mode.
- If the LED stops blinking before Z2M completes the join, press the button again (briefly, once per second) to keep the device awake. This is the most common pairing hiccup — the WXKG17LM sleeps aggressively to preserve battery, and it’ll time out of pairing mode if nothing happens quickly enough.
Once joined, the device appears in Z2M with its friendly name. Rename it to something meaningful before moving on — you’ll reference this name in your automation triggers. If you’re new to running Aqara devices straight on a coordinator without the Aqara hub, our hub-free Zigbee setup guide walks through the coordinator side in detail.
Worth knowing: if you’ve recently upgraded your Zigbee coordinator firmware, you may need to re-pair this device for full compatibility. The Z2M device page flags this explicitly — it affects join success, not just action reliability.
The click_mode setting most guides skip
This is the part that explains why so many forum threads end with “I’m only getting single-click events.”
The WXKG17LM ships in fast click_mode. In fast mode, the device sends only three actions: single_left, single_right, and single_both. Double-click and hold events are never transmitted. The device doesn’t fail to detect them — it just doesn’t report them until you tell it otherwise.
To get the full set of seven actions, you need to switch click_mode to multi.
Via the Z2M frontend:
- Open the device page in Z2M.
- Go to the Settings tab (not the state tab).
- Find the
click_modefield and change it fromfasttomulti. - Hit save.
Via MQTT directly:
Publish to zigbee2mqtt/FRIENDLY_NAME/set with the payload:
{"click_mode": "multi"}
Replace FRIENDLY_NAME with whatever you named the device in Z2M. The change takes effect immediately — you don’t need to re-pair.
Via the device itself: you can also toggle click_mode physically by pressing one of the rockers five times in quick succession. Each five-press cycle flips between fast and multi. That’s handy when you’d rather not open the frontend, but the downside is there’s no on-device indicator of which mode you’ve landed in — check the Z2M state afterward to confirm.
I didn’t expect this to be a separate configuration step at all. The Z2M device reference page lists it, but there’s nothing in the physical packaging or the device LED behavior that hints at this mode switch. If you’ve been staring at an automation that fires for single-click but never for double or hold, this is almost certainly the answer.
All seven actions and what they look like in Home Assistant
With multi click_mode active, the WXKG17LM exposes seven distinct action values:
| Action | Trigger |
|---|---|
single_left |
Single press on left button |
single_right |
Single press on right button |
single_both |
Single press on both buttons simultaneously |
double_left |
Double press on left button |
double_right |
Double press on right button |
hold_left |
Hold left button |
hold_right |
Hold right button |
In Home Assistant, these appear on the action entity for the device. The entity state updates each time a button event fires, then reverts to empty (or unknown) shortly after. This matters for how you write automations — more on that below.
The device also exposes battery (percentage) and voltage (millivolts) as read-only sensors. Battery percentage can take up to 24 hours to appear after initial pairing. Voltage is available immediately and works as a useful proxy for charge level until the percentage populates.
Building automations in Home Assistant
Use device triggers, not state-equals conditions.
The action entity reverts to empty after each event. If you write an automation with condition: state = single_left, it will often miss the trigger because the state has already cleared by the time the condition check runs. The right approach is a device trigger (event-based) or an MQTT trigger pointed at the Z2M topic.
Using device triggers in the HA UI:
- Create a new automation.
- Under Trigger, choose Device and select your WXKG17LM.
- The trigger picker lists all available actions including
single_left,double_left, etc. (assuming click_mode is already set to multi). - Add your action and save.
Using an MQTT trigger (if you prefer raw control):
trigger:
  - platform: mqtt
    topic: "zigbee2mqtt/YOUR_DEVICE_NAME"
    value_template: "{{ value_json.action }}"
    payload: "single_left"
The MQTT approach is more portable if you’re writing automations that need to survive device renames.
Two worked examples:
Example 1: Left and right buttons control two light groups independently
automation:
  - alias: "E1 Left → Living Room Lights"
    trigger:
      - platform: device
        domain: mqtt
        device_id: YOUR_DEVICE_ID
        type: action
        subtype: single_left
    action:
      - service: light.toggle
        target:
          entity_id: light.living_room

  - alias: "E1 Right → Bedroom Lights"
    trigger:
      - platform: device
        domain: mqtt
        device_id: YOUR_DEVICE_ID
        type: action
        subtype: single_right
    action:
      - service: light.toggle
        target:
          entity_id: light.bedroom
Example 2: Both-button hold as a scene reset (useful for “turn everything off”)
automation:
  - alias: "E1 Both Hold → All Off"
    trigger:
      - platform: device
        domain: mqtt
        device_id: YOUR_DEVICE_ID
        type: action
        subtype: hold_left    # use single_both for a single press variant
    action:
      - service: homeassistant.turn_off
        target:
          area_id: YOUR_AREA_ID
I’ve found hold_left and hold_right most reliable as “cancel” or “all off” actions rather than primary controls — they’re harder to trigger accidentally, while double-taps handle secondary functions.
Battery and device upkeep
Battery percentage typically takes up to 24 hours to appear after the initial pairing. Until it does, the voltage reading (in millivolts) is available immediately. A fresh CR2032 reads around 3000 mV — once voltage drops below 2600 mV, it’s worth replacing the cell.
Both battery and voltage are read-only sensors. Z2M cannot poll them on demand — the device only reports when it wakes up to send a button event. If the battery entity shows stale data, trigger a button press and Z2M will refresh the state.
Firmware updates are a maybe here, not a given. Whether the WXKG17LM offers OTA depends on your Z2M version and the device’s entry in the OTA index — some Aqara remotes are listed, others aren’t. After pairing, check the OTA tab on the device page in the Z2M frontend: if an update is offered, it’ll show there. If the tab reports nothing available, there’s no OTA path for this model on your setup, and that’s normal — a battery remote with stable firmware doesn’t need one.
WXKG17LM vs WXKG16LM: which to pick
The WXKG16LM is the single-rocker E1 — one button, three actions in multi mode (single, double, hold). The WXKG17LM doubles that to two buttons and seven actions total, at a small price premium.
Honestly, for most use cases I’d start with the single-rocker. If you only need two or three distinct actions from one wall position — say, on/off and a scene toggle — the WXKG16LM handles that with less mental overhead when you’re configuring automations. The double-rocker earns its keep when you genuinely want to control two separate spaces or devices from the same physical spot, or when you want to use the simultaneous both-press as a dedicated “all off” gesture. If you’re weighing the wider remote-switch lineup, our H1 mini-switch guide covers the closely related WXKG15LM/WXKG16LM family.
Both devices use the same click_mode mechanism, the same pairing procedure, and the same battery type. If you’ve set one up, the other follows the same path.
Wrapping up
Whether the click_mode multi setting eventually becomes the default in a future Aqara firmware revision is an open question. For now, the Z2M settings tab is the fastest way to flip it, and it’s a one-time change per device. The rest of the setup is as expected for a Zigbee battery device — pair, configure, build your automation triggers.