

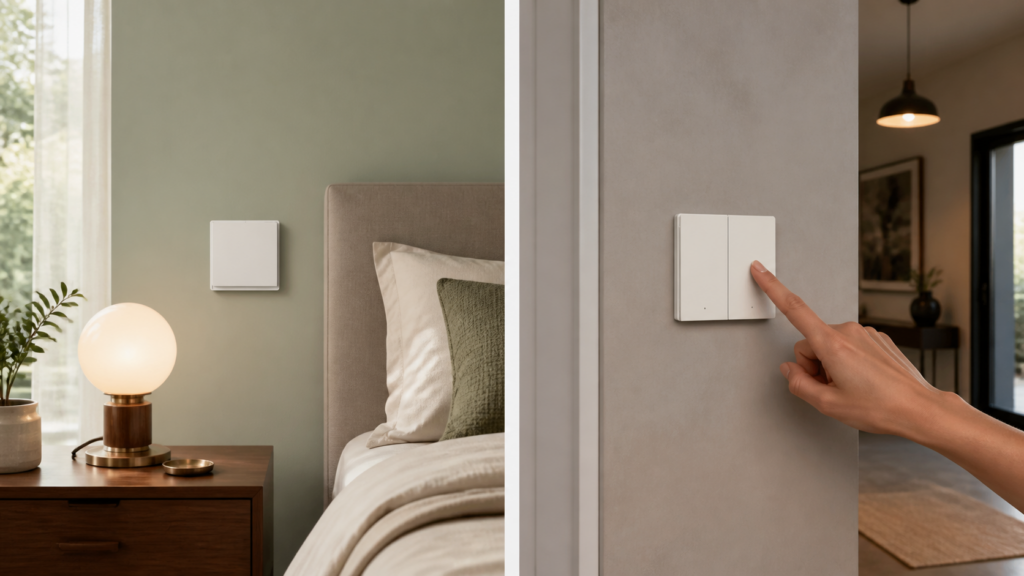
Aqara Wireless Switch E1 (WXKG16LM) and H1 (WXKG15LM): Zigbee2MQTT and Home Assistant Guide
These battery remotes can control Home Assistant lights and scenes without cutting power to the lamp. This guide covers the single-rocker WXKG16LM (无线开关 E1 单键) and the double-rocker WXKG15LM as identified by Zigbee2MQTT. Check the model printed on the remote before following a reset sequence or choosing an action.
There is a naming complication: Zigbee2MQTT lists WXKG15LM as an H1 double rocker, including the WRS-R02 variant. Aqara’s E1 wall-mounted specifications instead list WXKG16LM for the single rocker and WXKG17LM for the double rocker. The twelve-action and binding instructions here are for WXKG15LM, not a claim that WXKG17LM behaves identically.
When searching Chinese listings, 无线开关 E1 双键 means the E1 double-rocker remote. Match that description to WXKG17LM on the product label; a seller’s use of “E1” is not enough to identify a WXKG15LM. “无线” means wireless, rather than a wired switch operating without neutral.
Identify the wireless remote
A wireless remote sends an event to the Zigbee network. It does not switch the load directly and is not a replacement for the electrical installation of a wired wall switch. It can be mounted where a convenient physical control is missing.
WXKG16LM single rocker and WXKG15LM double rocker
| Model covered | Zigbee2MQTT description | Multi-click actions |
|---|---|---|
| WXKG16LM | E1 single rocker | single, double, hold |
| WXKG15LM | H1 double rocker | Single, double, triple, and hold for left, right, and both |
Use the WXKG16LM and WXKG15LM device pages for the corresponding exposures. Aqara’s E1 specifications help distinguish the actual E1 double-rocker model.
Why no neutral wire is required
The remote is battery powered and has no mains connection. When joined to Zigbee2MQTT, it needs your coordinator and MQTT setup rather than an Aqara hub. It remains an end device, so add mains-powered Zigbee routers if the mesh needs better coverage.
The hub-free Aqara guide covers that setup. Do not apply this wireless-device advice to a wired E1 wall switch.
Pairing with Zigbee2MQTT
Enable joining in the Zigbee2MQTT frontend, place the remote near the coordinator, and keep the log open. Wait for the interview to complete before moving it to its intended location.
Triggering pairing mode
Use the reset procedure for the exact model. For WXKG15LM, Zigbee2MQTT documents holding both rockers for ten seconds. For WXKG16LM, follow the unit’s pairing instructions and indicator behaviour rather than copying the two-rocker reset.
If it was previously paired to another network, remove the old association as appropriate and reset it before joining this coordinator. Check the battery and coordinator log if nothing is discovered.
Wake it when configuration is pending
Battery remotes sleep between reports. If interview or configuration fails, use a short press to wake the device and retry the pending operation. Avoid resetting repeatedly when the only problem is that a settings write reached a sleeping remote.
WXKG16LM actions
The single rocker reports single, double, and hold actions in multi mode. In fast mode, it reports a single click immediately. Start with one action, confirm it in Zigbee2MQTT, and then build the Home Assistant trigger.
Set click mode
Choose multi for double and hold presses, or fast for single-click-only use. Change it on the Exposes page while the remote is awake. If you use an MQTT client, this publishes the same setting; replace both placeholders and use your broker’s authentication options where required:
mosquitto_pub -h <broker-ip> -t "zigbee2mqtt/<device-name>/set" \
  -m '{"click_mode": "multi"}'
Do not assume that a physical click-mode shortcut documented for WXKG15LM also applies to every single-rocker model.
First WXKG16LM automation
Press the single rocker once, then create a device-trigger automation in Home Assistant and select the action offered by MQTT discovery. The discovered trigger is preferable to enabling the deprecated legacy action sensor.
This complete automation is for Home Assistant’s automation YAML editor. Replace the device ID with the one generated by the UI and select your light entity:
alias: E1 single press - toggle living room light
trigger:
  - platform: device
    domain: mqtt
    device_id: <your-device-id>
    type: action
    subtype: single
action:
  - service: light.toggle
    target:
      entity_id: light.living_room
WXKG15LM actions and binding
The double rocker distinguishes left, right, and combined presses in event mode. Direct binding follows a different path and has a documented one-endpoint limitation. Decide whether you need distinct automation events or that particular binding behaviour before changing modes.
Use event mode for separate rocker actions
Set operation_mode to event when Home Assistant should distinguish the rockers. Wake the remote before changing the setting. The MQTT equivalent is:
mosquitto_pub -h <broker-ip> -t "zigbee2mqtt/<device-name>/set" \
  -m '{"operation_mode": "event"}'
Command mode enables binding, but the documented implementation produces toggle_1 from the single binding endpoint regardless of which rocker is pressed. That is why command mode is a poor fit for assigning different Home Assistant actions to left and right.
Assign left, right, and combined presses
A simple layout keeps the everyday actions easy to remember. Build the scenes in Home Assistant first, then assign the discovered triggers:
| Press | MQTT action | Example task |
|---|---|---|
| Left single | single_left |
Movie scene |
| Left double | double_left |
Reading scene |
| Right single | single_right |
Toggle the main lights |
| Right double | double_right |
Turn the room lights off |
| Both single | single_both |
Full-brightness scene |
In multi mode, check single_left, single_right, and single_both, then the corresponding double_…, triple_…, and hold_… actions. Record which presses you can reproduce comfortably before mapping all twelve.
For example, a left single press can activate an existing movie scene. Replace the device ID and scene entity with your own:
alias: E1 left single - dim for movie
trigger:
  - platform: device
    domain: mqtt
    device_id: <your-device-id>
    type: action
    subtype: single_left
action:
  - service: scene.turn_on
    target:
      entity_id: scene.movie_mode
Build the scene separately and test it before attaching the remote. This makes it easier to distinguish a missing button event from a scene that contains the wrong light entities.
After a Zigbee2MQTT upgrade
If an automation stops working after an upgrade, check whether the underlying MQTT action still arrives and whether the old automation depended on a legacy action sensor. That sensor is deprecated; current integration guidance recommends MQTT device triggers.
Issue 25650 is a closed historical WXKG15LM report, not evidence that the same failure remains in every current release. Compare your installed version, logs, and discovery settings before re-pairing.
Control smart lights while keeping them powered
A wireless remote is useful beside a smart bulb because it changes the light’s state through the integration while leaving the bulb’s supply available. Whether the command stays local also depends on the light’s own integration.
Keep the bulb reachable
A smart bulb with its mains supply switched off cannot receive a Zigbee, Wi-Fi, or Thread command. Leave its normal supply available when you want wireless control. Use the remote as an additional control; do not treat this guide as an instruction to alter fixed mains wiring.
A simple light toggle
The command path is remote press → Zigbee coordinator → Zigbee2MQTT → MQTT broker → Home Assistant automation → the light’s own integration. This is sometimes described as 无线模式, or wireless control: the remote sends a command while the smart bulb remains powered. A local Zigbee button does not make a cloud-controlled target local, so check the final light integration too.
This single-rocker example toggles a Home Assistant light entity. Replace the device ID and light entity. For WXKG15LM, choose the actual left/right/combined subtype instead of single.
alias: E1 wireless - toggle hallway light
trigger:
  - platform: device
    domain: mqtt
    device_id: <e1-device-id>
    type: action
    subtype: single
action:
  - service: light.toggle
    target:
      entity_id: light.hallway
mode: single
If you prefer predictable separate on and off buttons, use explicit light.turn_on and light.turn_off actions on different rockers rather than toggling. Test the light from Home Assistant first.
Troubleshoot missing actions
- No MQTT action: check the battery, coverage, completed interview, and model-specific mode.
- Only single clicks: inspect
click_modeand confirm the settings write while awake. - Both rockers report the binding command: check WXKG15LM operation mode and use events for separate actions.
- MQTT works but Home Assistant does not: inspect discovery and the automation trace, then compare the selected device and action subtype.
- Works near the coordinator only: check parent-router coverage. LQI is useful context, not a universal pass/fail number.
Allow time for battery reports
Both device pages note that battery percentage can take up to 24 hours to appear. Check that presses arrive while waiting. A blank battery entity alone is not a reason to reset a working remote.
Frequently asked questions
Can it control a conventional lamp on its own? No. It needs an integrated smart light, relay, plug, or other controllable target.
Does it need the Aqara app? Not for direct Zigbee2MQTT pairing and Home Assistant automations. Check the exact model’s support before buying.
Will it work when Home Assistant is down? The automation examples depend on Home Assistant and MQTT. Direct binding is a separate feature with model-specific limits.
Is there a smaller button option? The WXKG11LM Mini Switch guide covers another layout and its own action behaviour.