Aqara Vibration Sensor (DJT11LM): Zigbee2MQTT Setup and Five Local Automations for Home Assistant
The Aqara DJT11LM is a CR2032-powered Zigbee vibration sensor the size of a large coat button. It costs around $12, ships pre-assembled, and detects vibration, tilt, and drop events — all without a hub, an account, or a cloud subscription. Paired with Zigbee2MQTT and Home Assistant, it enables a class of automations that motion sensors and door contacts simply cannot cover: appliance monitoring, mailbox detection, knock alerts, and tamper detection for equipment you’d rather not have moved.
Most of what you’ll find online is the raw device page on zigbee2mqtt.io — useful, but not a setup guide. This article covers the full setup and five automations you can put into production today, all 100% local.
Prerequisites: Zigbee2MQTT running and integrated with Home Assistant, a Zigbee coordinator, and the DJT11LM with its factory-installed CR2032.
What You’ll Need
– Aqara Vibration Sensor (model DJT11LM)
– CR2032 battery (included)
– Zigbee2MQTT (any recent stable release)
– Home Assistant with the Zigbee2MQTT add-on or integration active
– A Zigbee coordinator (CC2652, SONOFF Zigbee 3.0 USB Dongle Plus, or similar)
Pairing the DJT11LM with Zigbee2MQTT
Enable Join Mode
In the Zigbee2MQTT frontend, click Permit join (or toggle it for your specific coordinator/network). The default join window is 254 seconds — plenty of time.
Pairing Procedure
The DJT11LM enters pairing mode when you hold the small reset button on the back of the device for approximately 5 seconds until the LED blinks three times rapidly. Once the LED sequence fires, the sensor is advertising itself on the Zigbee network.
Important: The DJT11LM is a sleepy end device. It will drop out of pairing mode within a few seconds to save power. To keep it awake during the joining handshake, press the reset button once every 2 seconds — up to 20 times — until the Z2M frontend confirms the device has joined. This is the step most people miss when pairing fails.
Confirming the Pair
Once paired, the device appears in the Zigbee2MQTT device list. The default friendly name is the device IEEE address. Rename it immediately (e.g., vibration_washer, vibration_mailbox) — it keeps automations readable and survives coordinator replacements when you bind by name.
Battery Note
If pairing fails repeatedly and the LED is dim or barely visible, the pre-installed battery may be drained (common if the unit sat in a warehouse). Replace the CR2032 before troubleshooting further.
Troubleshooting: Device Goes Silent After Pairing
The DJT11LM will not report any entities until it detects a vibration, tilt, or drop event — it sends nothing on a flat, motionless surface. Shake it gently after pairing to confirm the integration is working end-to-end before mounting it anywhere.
Entities Exposed in Home Assistant
After pairing, Zigbee2MQTT exposes the following entities in Home Assistant:
| Entity | Type | Notes |
|---|---|---|
vibration |
Binary sensor (boolean) | true when vibration is detected |
action |
Sensor (event string) | Values: vibration, tilt, drop |
strength |
Sensor (integer) | Max vibration intensity in the last 300 s window |
sensitivity |
Sensor (numeric) | 1 = highest sensitivity, 21 = lowest; writable via MQTT |
angle_x, angle_y, angle_z |
Sensor (°) | Tilt angles on each axis |
battery |
Sensor (%) | Remaining battery level |
voltage |
Sensor (mV) | Battery voltage |
device_temperature |
Sensor (°C) | Internal chip temperature |
Understanding strength
The strength value is not real-time. It represents the maximum vibration intensity recorded in a 300-second rolling window after vibration begins. This matters for automation logic: you cannot use strength to react to a specific vibration event in the moment. Use action or vibration for real-time triggers; use strength as a qualifier after the fact by reading sensor._strength — a separate entity from the binary sensor.
Also worth knowing: the action event fires approximately 1 second after vibration onset and will fire at most once per minute, regardless of continuous vibration. Design automations accordingly — if a machine vibrates continuously, vibration (the boolean) is more reliable than repeated action fires.
Configuring Sensitivity
When to Use Each Level
Sensitivity is set as a number between 1 and 21. Lower numbers = higher sensitivity; higher numbers = lower sensitivity.
– High sensitivity (1–7): Best for low-vibration sources — a letter landing in a mailbox, light knocking on a hollow door, subtle movement of a laptop.
– Medium sensitivity (~11): General-purpose. Good starting point for most appliances and doors.
– Low sensitivity (15–21): Noisy environments where the sensor would otherwise false-trigger — a laundry room with multiple machines running, or a surface with ambient mechanical vibration.
Setting Sensitivity via the Z2M UI
Open the device in the Zigbee2MQTT frontend → Settings tab → enter a value in the sensitivity field (1–21) → click Update. The device accepts the change on its next wake cycle, which requires sending it a vibration (tap the device) to wake it if it has gone to sleep.
Setting Sensitivity via MQTT
For scripted or automation-based configuration:
# Publish to: zigbee2mqtt/<friendly_name>/set
# Payload:
{"sensitivity": 1}   # highest sensitivity
# {"sensitivity": 11}  # medium
# {"sensitivity": 21}  # lowest sensitivity
You can send this via the Home Assistant mqtt.publish service action in an automation or script.
Five Practical Automations
1. Washing Machine / Dryer Done Notification
Attach the sensor to the top or side panel of the washing machine with a small piece of adhesive foam tape. The goal is to detect the transition from “machine is vibrating” to “machine has stopped.”
Logic: Once vibration stops, Z2M clears the vibration binary sensor after a configurable timeout (default: 90 seconds). The automation then waits for vibration to remain false for 5 minutes before firing — confirming the machine has stopped rather than paused between spin cycles.
alias: "Washer done notification"
description: "Notify when washing machine finishes"
trigger:
  - platform: state
    entity_id: binary_sensor.vibration_washer_vibration
    to: "off"
    for:
      minutes: 5
action:
  - action: notify.mobile_app_your_phone
    data:
      title: "Laundry done"
      message: "Washing machine has stopped."
mode: single
False positive mitigation: If a nearby appliance causes vibration bleed, add a numeric_state condition on sensor.vibration_washer_strength above a threshold — this requires checking the strength sensor entity directly (not the binary sensor), since strength is reported separately.
Set sensitivity to around 11 (medium) for most washers. Heavy-duty machines or front-loaders with aggressive spin cycles may work better at 15–21 (low) to avoid the sensor reporting vibration continuously through an entire cycle, which would prevent the “stopped” trigger from ever firing.
2. Mailbox Alert
Stick the sensor to the inside floor or lid of your letterbox. A letter or small parcel landing generates a sharp, brief vibration — enough for a high-sensitivity action: vibration trigger.
alias: "Mailbox delivery alert"
description: "Push notification when something lands in the mailbox"
trigger:
  - platform: state
    entity_id: sensor.vibration_mailbox_action
    to: "vibration"
action:
  - action: notify.mobile_app_your_phone
    data:
      title: "Post arrived"
      message: "Something landed in the mailbox."
mode: single
Set sensitivity to 1–5 (high). A CR2032 lasts 6–12 months, so battery drain is not a concern for this low-event use case.
One limitation: the sensor fires at most once per minute. If two deliveries happen within 60 seconds, you’ll receive one notification. For a residential mailbox this is rarely a problem.
3. Door Knock Detection
Attach the sensor to the interior face of a door — pressed flat against a wooden or hollow-core panel. On high sensitivity, knocking registers clearly as action: vibration events.
alias: "Front door knock"
description: "Alert when someone knocks on the front door"
trigger:
  - platform: state
    entity_id: sensor.vibration_frontdoor_action
    to: "vibration"
action:
  - action: notify.mobile_app_your_phone
    data:
      title: "Someone at the door"
      message: "Knock detected on front door."
  - action: light.turn_on
    target:
      entity_id: light.hallway
    data:
      brightness_pct: 100
mode: single
This is different from a reed-switch door/window sensor, which only detects opening and closing. The vibration sensor detects knocking on a closed door — useful for interior rooms, outbuildings, or gates where you want knock awareness without installing a doorbell.
Placement tip: Mount on the door panel, not the door frame. The panel transmits knocking vibration; the frame absorbs it.
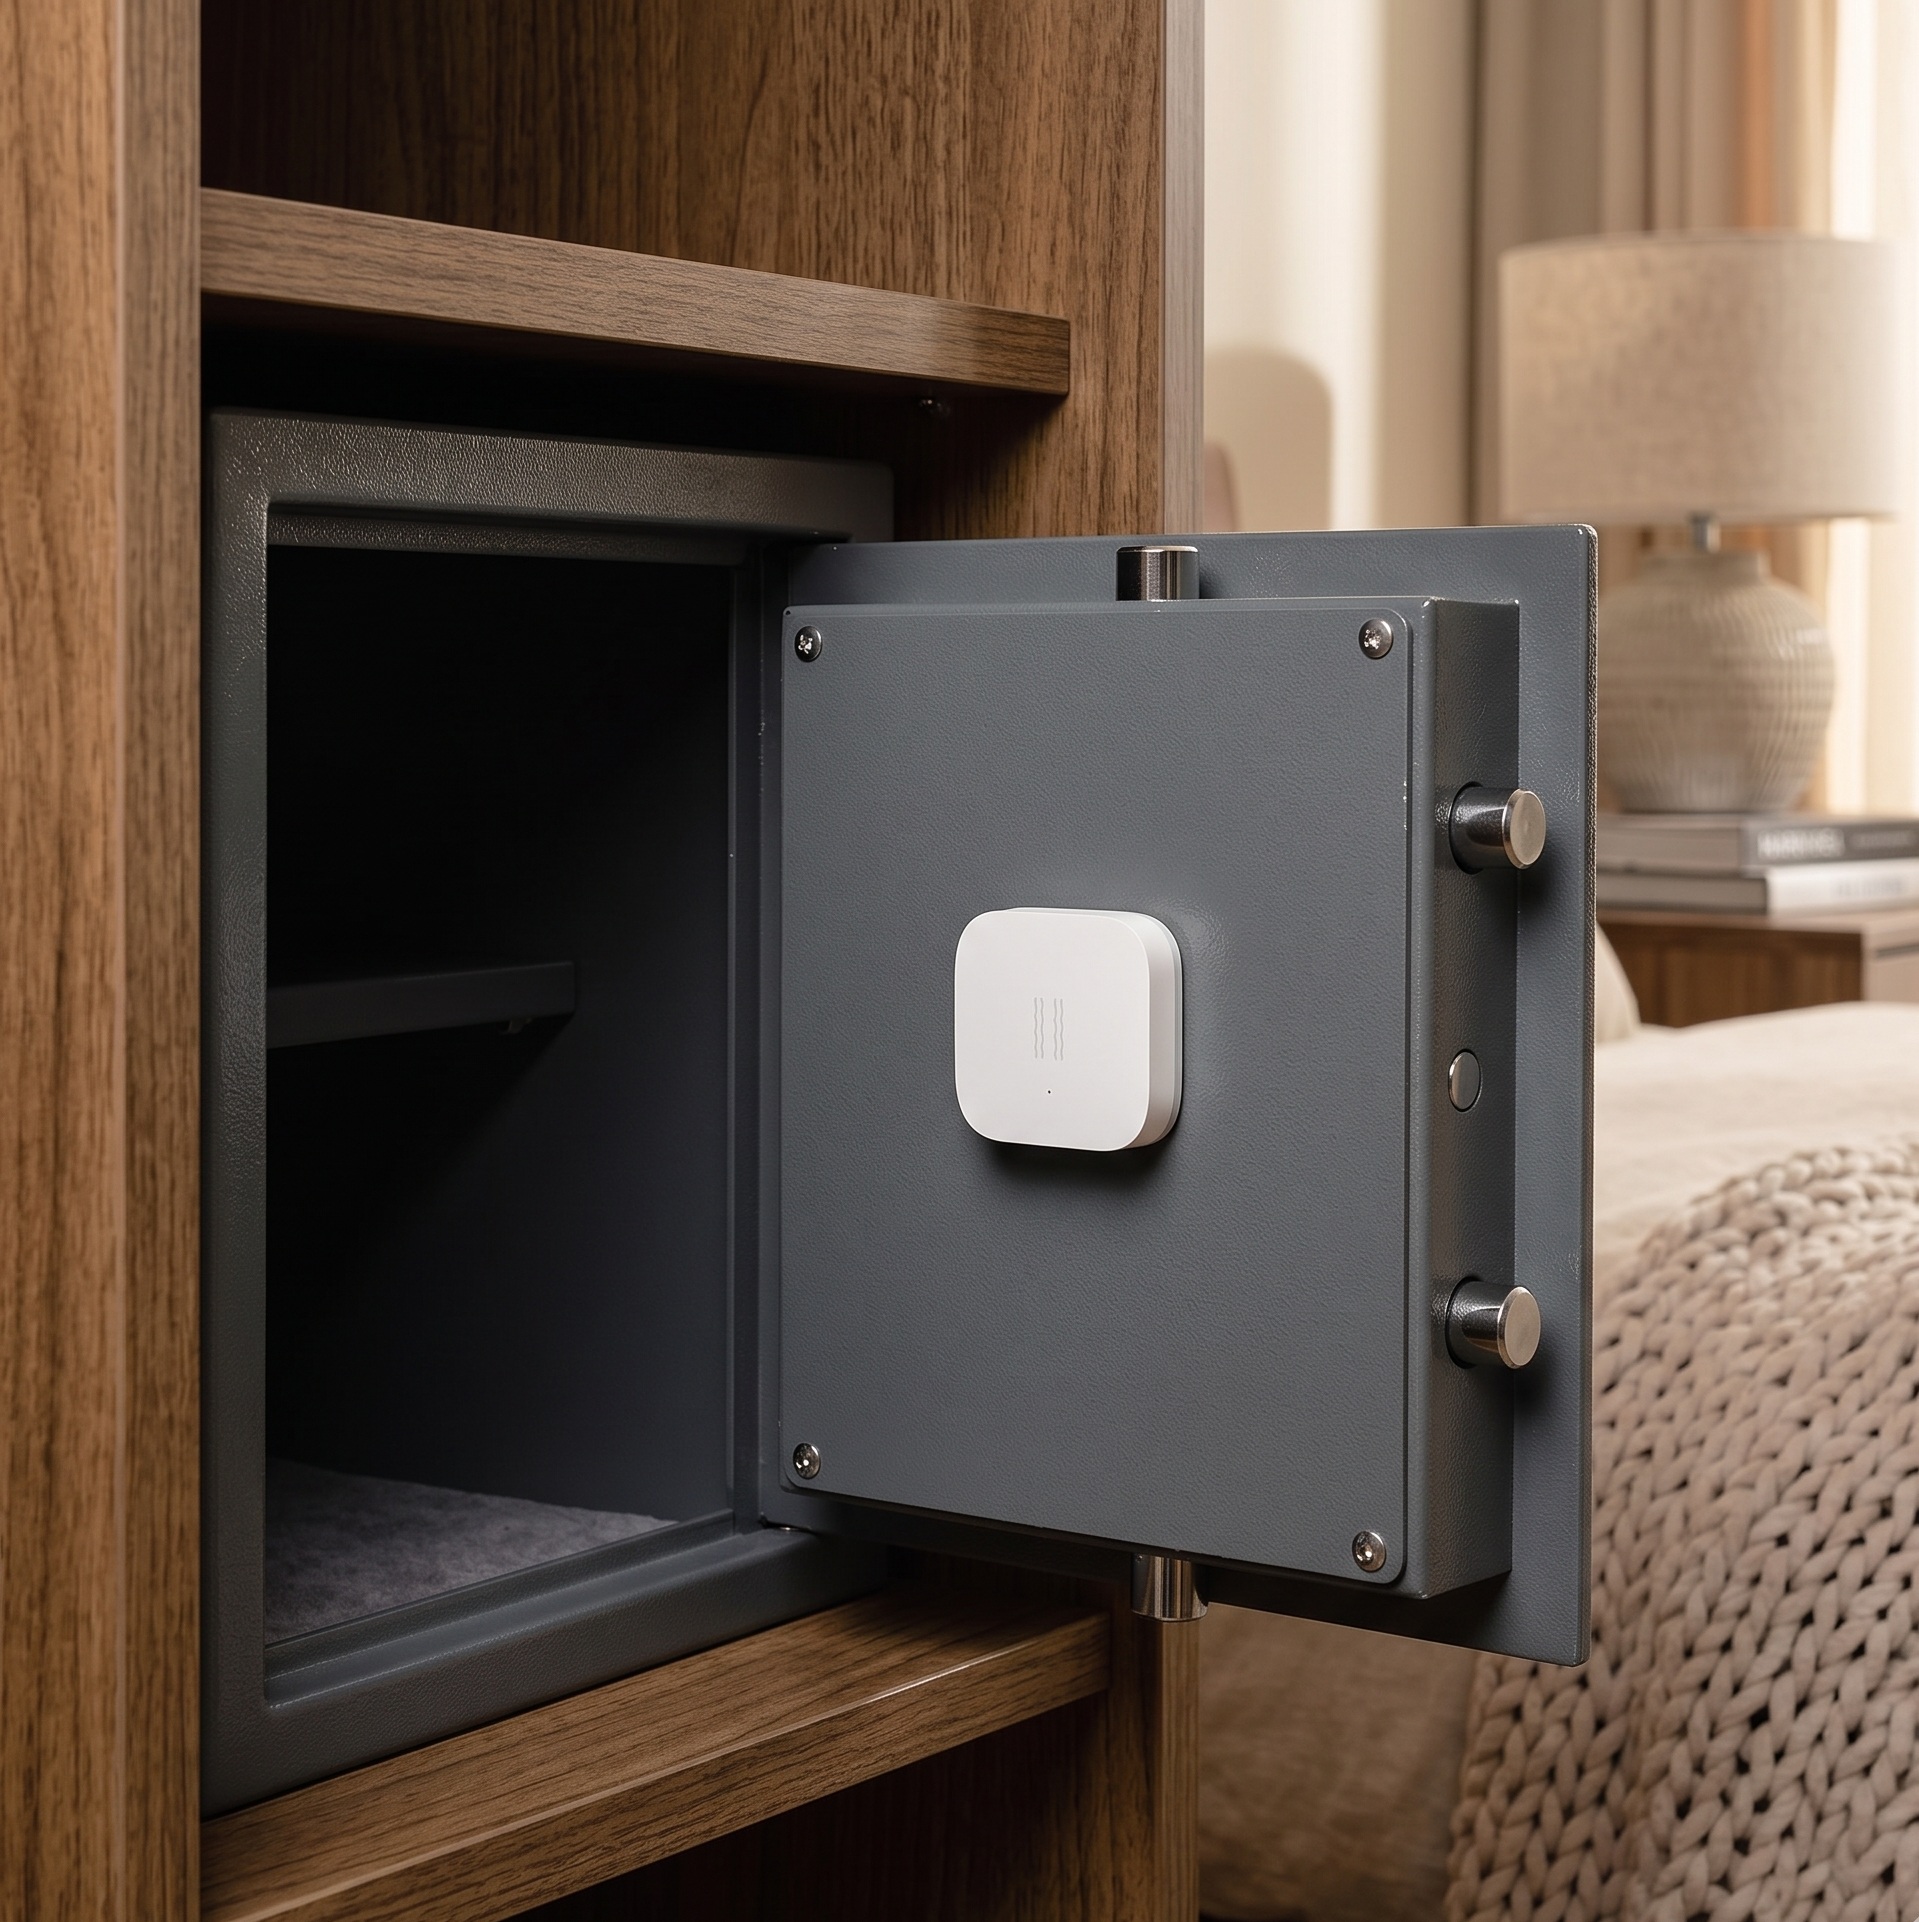
4. Tilt / Tamper Alert for Valuables
The action: tilt and action: drop events trigger when the sensor’s orientation changes significantly or when it experiences a sudden fall impulse. This makes it viable as a tamper indicator for a laptop, a server, a small safe, or any item you want to stay put.
alias: "Server rack tamper alert"
description: "Alert if server rack is tilted or disturbed"
trigger:
  - platform: state
    entity_id: sensor.vibration_serverrack_action
    to: "tilt"
  - platform: state
    entity_id: sensor.vibration_serverrack_action
    to: "drop"
action:
  - action: notify.mobile_app_your_phone
    data:
      title: "Tamper alert"
      message: "Server rack moved — check immediately."
  - action: alarm_control_panel.alarm_trigger
    target:
      entity_id: alarm_control_panel.home_alarm
mode: single
For this use case, set sensitivity to 11–21 (medium to low) to avoid false triggers from vibration transmitted through the floor or furniture. You want displacement events (tilt, drop), not background vibration.
5. Plant Pot — Watering Reminder via Tilt
Attach the sensor to a large plant pot. When you lift or tilt the pot to water it, the sensor logs a tilt action. Use this to track the last watering time and send a reminder if a configurable number of days passes without a tilt event.
alias: "Record plant watered"
description: "Update last_watered datetime helper when plant pot is tilted"
trigger:
  - platform: state
    entity_id: sensor.vibration_plantpot_action
    to: "tilt"
action:
  - action: input_datetime.set_datetime
    target:
      entity_id: input_datetime.plant_last_watered
    data:
      datetime: "{{ now().strftime('%Y-%m-%d %H:%M:%S') }}"
mode: single
Pair this with a separate time-based automation that checks input_datetime.plant_last_watered and fires a notification if more than 3 days (or however long your plant species requires) have elapsed. No soil moisture sensor required.
Battery Life and Maintenance
A fresh CR2032 in the DJT11LM typically lasts 6–12 months under normal use. High-event environments (like a washing machine sensor that accumulates thousands of vibration events per month) will drain faster; low-event applications (mailbox, tamper alert) may stretch past 12 months.
Low Battery Alert
The battery entity updates periodically. A simple automation handles the reminder:
alias: "DJT11LM low battery alert"
trigger:
  - platform: numeric_state
    entity_id: sensor.vibration_washer_battery
    below: 20
action:
  - action: notify.mobile_app_your_phone
    data:
      title: "Sensor battery low"
      message: "Replace CR2032 in vibration_washer."
mode: single
Duplicate per sensor, or use a group/template if you have multiple DJT11LM units.
Re-pairing After Battery Replacement
Replacing the battery does not unpair the device. The DJT11LM retains its network credentials in flash memory. After a battery swap, it rejoins automatically within a few minutes. If it fails to rejoin (rare), hold the reset button 5 seconds to re-initiate pairing as described above.
Privacy and Local-Only Operation
The DJT11LM communicates over Zigbee only. All sensor data flows: device → Zigbee coordinator → Zigbee2MQTT (MQTT broker on your LAN) → Home Assistant. No data leaves your network. There is no Aqara cloud call, no account, no app required, no subscription. The sensor has no Wi-Fi radio and no mechanism to phone home.
This is the defining advantage over hub-based Aqara setups. The Aqara hub model routes all data through Aqara’s cloud even for local automations; Zigbee2MQTT eliminates that entirely.
Summary
The Aqara DJT11LM is a CR2032-powered Zigbee sensor that does three things — vibration, tilt, drop — and does them reliably for under $15. The setup is straightforward once you know the “keep pressing to stay awake” pairing trick. The five automations above barely scratch the surface; the combination of vibration + tilt + drop events, adjustable sensitivity (numeric 1–21), and a 6–12 month battery make it one of the most versatile sensors in the local-first Zigbee toolkit.
For sensors that cover adjacent use cases in the same line, see the Aqara Water Leak Sensor setup guide and the Aqara Door/Window Sensor guide — both work identically over Zigbee2MQTT with no cloud dependency.