Aqara Temperature Sensor T1 in Home Assistant (No Hub)
That Amazon listing says “Requires Aqara Hub (not 3rd-Party).” It’s wrong — or at least misleading. Both the Aqara Temperature and Humidity Sensor T1 (WSDCGQ12LM) and its predecessor (WSDCGQ11LM) pair directly to a Zigbee coordinator via Zigbee2MQTT or ZHA. No Aqara hub required. No Aqara cloud account required.
This guide walks through the full setup: pairing, the entities you’ll get in Home Assistant, calibration offsets, and the handful of known issues worth knowing before you hit them.
Does the Aqara temperature sensor really need a hub?
No. The “Requires Aqara Hub” note on Amazon refers to the setup path Aqara documents and supports officially. Their app, their hub, their cloud. That’s the path they sell.
But the WSDCGQ12LM is a standard Zigbee device. Any Zigbee coordinator running Zigbee2MQTT or ZHA can pair it, read its values, and pass them to Home Assistant — completely offline, with no Aqara account involved. The Zigbee2MQTT device page for the WSDCGQ12LM documents this explicitly.
The Amazon claim isn’t false advertising so much as vendor-scoped documentation. It describes what Aqara supports, not what the hardware can do. The hardware can do more.
Which model do you have?
Two models come up frequently in searches. They’re nearly identical in practice but differ in a few details worth knowing.
| Feature | WSDCGQ11LM (original) | WSDCGQ12LM (T1) |
|---|---|---|
| Form factor | Round puck | Rounded rectangle |
| Zigbee2MQTT support | Yes | Yes |
| ZHA support | Yes | Yes |
| Temperature entity | Yes | Yes |
| Humidity entity | Yes | Yes |
| Atmospheric pressure entity | Yes | Yes |
| Battery entity | Voltage only (some builds) | Percentage (newer Z2M builds) |
| Humidity accuracy spec | ±3% RH | ±2% RH |
| Retail availability | Being phased out | Current model |
The T1 (WSDCGQ12LM) is the one you’re likely to buy new. The pairing procedure is identical for both. The main practical difference in Home Assistant is that the T1 reports battery as a percentage — the original often only reports voltage, leaving you to interpret whether 2.8 V means “fine” or “replace it soon.”
If you bought the sensor recently, you almost certainly have the WSDCGQ12LM.
What you need before you start
- A Zigbee coordinator — a CC2652P, SkyConnect, or similar. A ConBee II works too. The coordinator needs to be running and recognized by your system.
- Zigbee2MQTT running, connected to a Mosquitto MQTT broker, and integrated with Home Assistant via the MQTT integration. If you don’t have this set up yet, our Aqara Hub M2 + Home Assistant guide covers the full stack setup in the context of Aqara devices.
- USB 2.0 extension cable for your Zigbee dongle — this is not optional if your coordinator is a USB stick plugged directly into a modern PC or server. USB 3.0 ports emit RF interference in the 2.4 GHz range that degrades Zigbee reliability. A 1–2 meter USB 2.0 extension cable moves the dongle away from the port and typically eliminates the interference. More on this in the troubleshooting section.
The sensor takes a CR2032 coin cell. It ships with one installed.
Pairing the sensor
- Open the Zigbee2MQTT dashboard and click Permit join (All), or permit join for a specific device if your setup supports that.
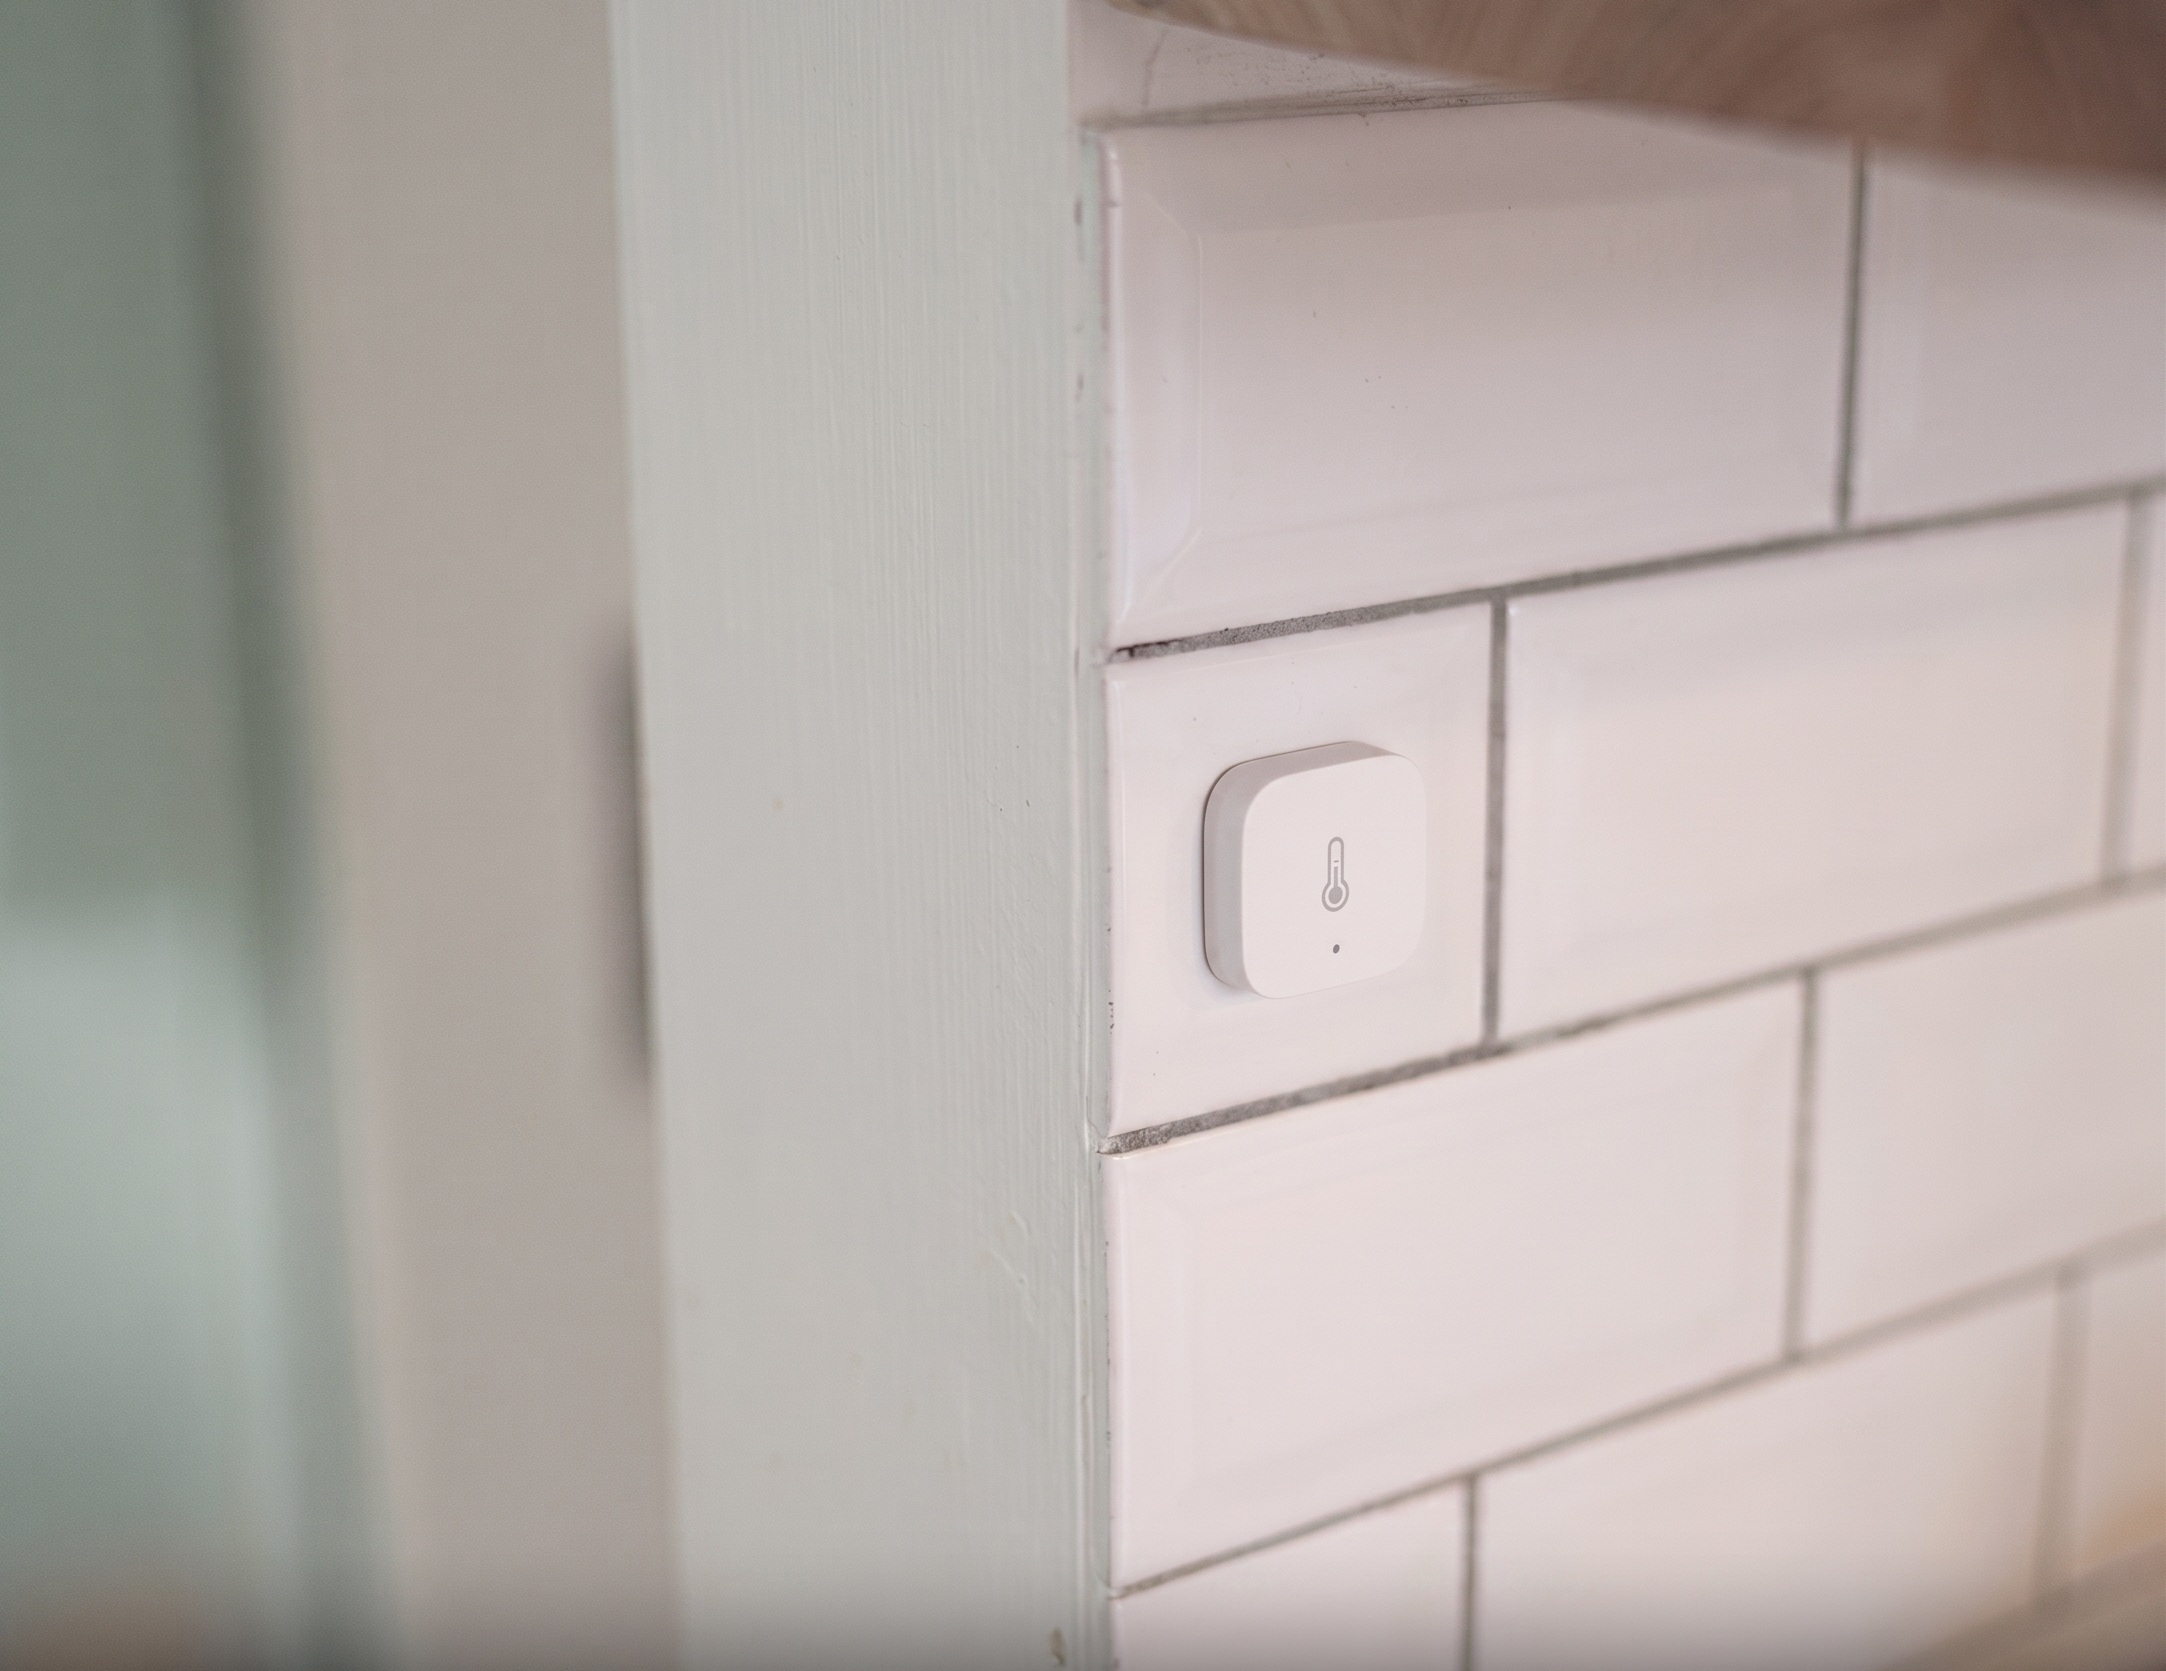
- Hold the reset button on the sensor for approximately 5 seconds until the LED blinks. The reset button is a small pinhole on the side of the T1; you’ll need a SIM card ejector tool or a bent paperclip.
- Watch the Zigbee2MQTT logs. You should see the device interview start within a few seconds. The interview completes in under a minute on a healthy mesh.
- Once interviewed, the device appears in the Zigbee2MQTT devices list. Give it a friendly name there — you’ll use that name in Home Assistant.
- Home Assistant should auto-discover the new MQTT device entities. If auto-discovery is enabled (it is by default when Z2M is integrated via MQTT), the entities appear without any manual configuration.
If the interview completes but no entities appear in Home Assistant, check that MQTT discovery is enabled in your Zigbee2MQTT configuration (homeassistant: true in configuration.yaml).
Entities you’ll see in Home Assistant
Once paired, the T1 exposes four entities in Home Assistant:
Temperature — reported in °C. The sensor reports on change rather than on a fixed schedule; reporting frequency can be tuned per-attribute via the Reporting page in the Zigbee2MQTT device view.
Humidity — reported as relative humidity percentage (% RH). Same reporting behavior as temperature.
Atmospheric pressure — reported in hPa (hectopascals). This is absolute pressure at the sensor’s location, not altitude-corrected. See the section below on what that means and when it matters.
Battery — reported as a percentage on the T1 (WSDCGQ12LM). On the original WSDCGQ11LM, this may appear as voltage in millivolts depending on your Zigbee2MQTT version. A freshly installed CR2032 reads around 3000 mV; in practice, sensors tend to start giving unreliable readings somewhere below 2500 mV, though the exact threshold varies by unit.
All four entities are read-only. The sensor has no controllable outputs.
Calibration
The WSDCGQ12LM device page in Zigbee2MQTT exposes calibration offset settings for temperature, humidity, and pressure. These are useful if you’ve verified your sensor reads consistently high or low against a reference device.
To apply an offset:
1. In the Zigbee2MQTT dashboard, open the device and find the Exposes section.
2. You’ll see input fields for temperature_calibration, humidity_calibration, and pressure_calibration.
3. Enter the offset value (positive to add, negative to subtract). For example, if your sensor reads 0.5°C above a verified reference, enter -0.5.
One thing to know: the offset takes effect on the next reporting cycle, not immediately. The sensor won’t push an updated value the moment you save the offset — you’ll see the corrected reading when the sensor next reports a change or hits its periodic update interval. Don’t assume the offset didn’t take if nothing changes immediately.
Calibration offsets are stored in Zigbee2MQTT’s device configuration, not on the sensor itself. If you remove and re-add the device, you’ll need to re-enter the offsets.
Using the pressure entity
The pressure reading is absolute atmospheric pressure at the sensor’s physical location. For most home automation purposes — tracking pressure trends, triggering automations when pressure drops before a storm — raw absolute pressure works fine.
If you want to compare your readings to weather service data (which reports sea-level pressure), you’ll need to correct for altitude. The sensor doesn’t do this itself, and Zigbee2MQTT doesn’t apply the correction either. A Home Assistant template sensor handles it.
A common simplified approximation, widely used in HA community templates, is:
sea_level_pressure ≈ absolute_pressure × (1 + (altitude_in_meters / 44330))^5.255
Substitute your elevation in meters. More precise variants of the formula incorporate current temperature; for casual home use the simplified version is close enough that the difference is within the sensor’s own accuracy spec.
In Home Assistant, create a template sensor in your configuration.yaml (or via the template helper in the UI) that applies this formula to the raw pressure entity value. The result is a second sensor you can compare directly against weather service data.
Troubleshooting
The T1 pairs fine but shows null values for all readings
This affected early WSDCGQ12LM pairings on some Zigbee2MQTT builds. The device interview completes successfully, the device appears in the dashboard, but temperature, humidity, and pressure all show as unavailable or null.
The cause was a missing or incorrect converter for the device’s Zigbee ID (lumi.sensor_ht.agl02) in older Zigbee2MQTT versions. The fix: update Zigbee2MQTT to a recent release. After updating, re-interview the device (remove and re-pair, or trigger a re-interview from the dashboard) and the entities should populate on the next reporting cycle.
If you’re running Zigbee2MQTT via the Home Assistant add-on, updating is a one-click operation in the Add-on Store.
The sensor drops off the network every few days
Two common causes:
Weak mesh signal. The T1 is a Zigbee end device, not a router. It doesn’t extend the mesh — it only consumes it. If the sensor is far from any coordinator or mains-powered Zigbee router device, it can lose its parent node and drop off. The fix is adding a mains-powered Zigbee device (a smart plug or bulb that acts as a router) closer to the sensor, or moving the sensor closer to your coordinator.
USB 3.0 interference. If your Zigbee coordinator is a USB stick plugged directly into a USB 3.0 port on your server or PC, the port itself emits interference that can destabilize the mesh for nearby devices. The fix is a USB 2.0 extension cable (1–2 meters) that moves the dongle away from the port. This single change eliminates this class of problem entirely and is worth doing regardless of whether you’re currently seeing dropouts.
Battery draining faster than expected
The sensor’s battery life depends heavily on reporting interval. If you’ve configured aggressive minimum-reporting intervals via Zigbee2MQTT’s reporting settings, the battery will drain faster accordingly. The defaults are conservative for a reason — there’s rarely a good reason to push them shorter for a temperature/humidity sensor.
Also check that the sensor isn’t in a location with very high temperature fluctuation — frequent state changes trigger more frequent transmissions, which draw more power.
Automation ideas
Once you have clean temperature, humidity, and pressure entities in Home Assistant, a few automations are immediately useful:
Humidity-triggered ventilation. Trigger a bathroom exhaust fan (or smart plug controlling one) when humidity rises above a threshold — 75% RH is a common starting point — and turn it off when it drops back below 65% RH. A 5-minute minimum-on time prevents rapid cycling.
Temperature alert. A simple notification automation when a room drops below a set temperature threshold is useful for spaces you don’t actively monitor — a garage, a server room, a wine fridge. The sensor’s accuracy is good enough for this use case without calibration.
Pressure trend watch. Pressure alone is less informative than pressure trend. A Home Assistant history stats sensor that measures the rate of pressure change over the last 3 hours gives you a basic weather-incoming signal. Meteorological convention treats a drop of around 3 hPa over 3 hours as a typical thunderstorm threshold, with 4 hPa giving a comfortable margin for false positives.
The hub question, answered
The Aqara T1 temperature and humidity sensor works completely without an Aqara hub when paired via Zigbee2MQTT to Home Assistant. Four entities, clean local data, no cloud dependency.
The setup takes under ten minutes if Zigbee2MQTT is already running. The only real gotcha is the USB 3.0 interference issue — worth sorting before the sensor ever has a chance to misbehave.
If you do want the Aqara hub route for other reasons (HomeKit integration, a centralized Aqara setup), that’s a separate question covered in our Aqara Hub M2 guide. But for anyone whose goal is local-only Home Assistant data from this sensor, the hub is not in the picture.