Aqara Radiator Thermostat E1: Local Setup via Zigbee2MQTT
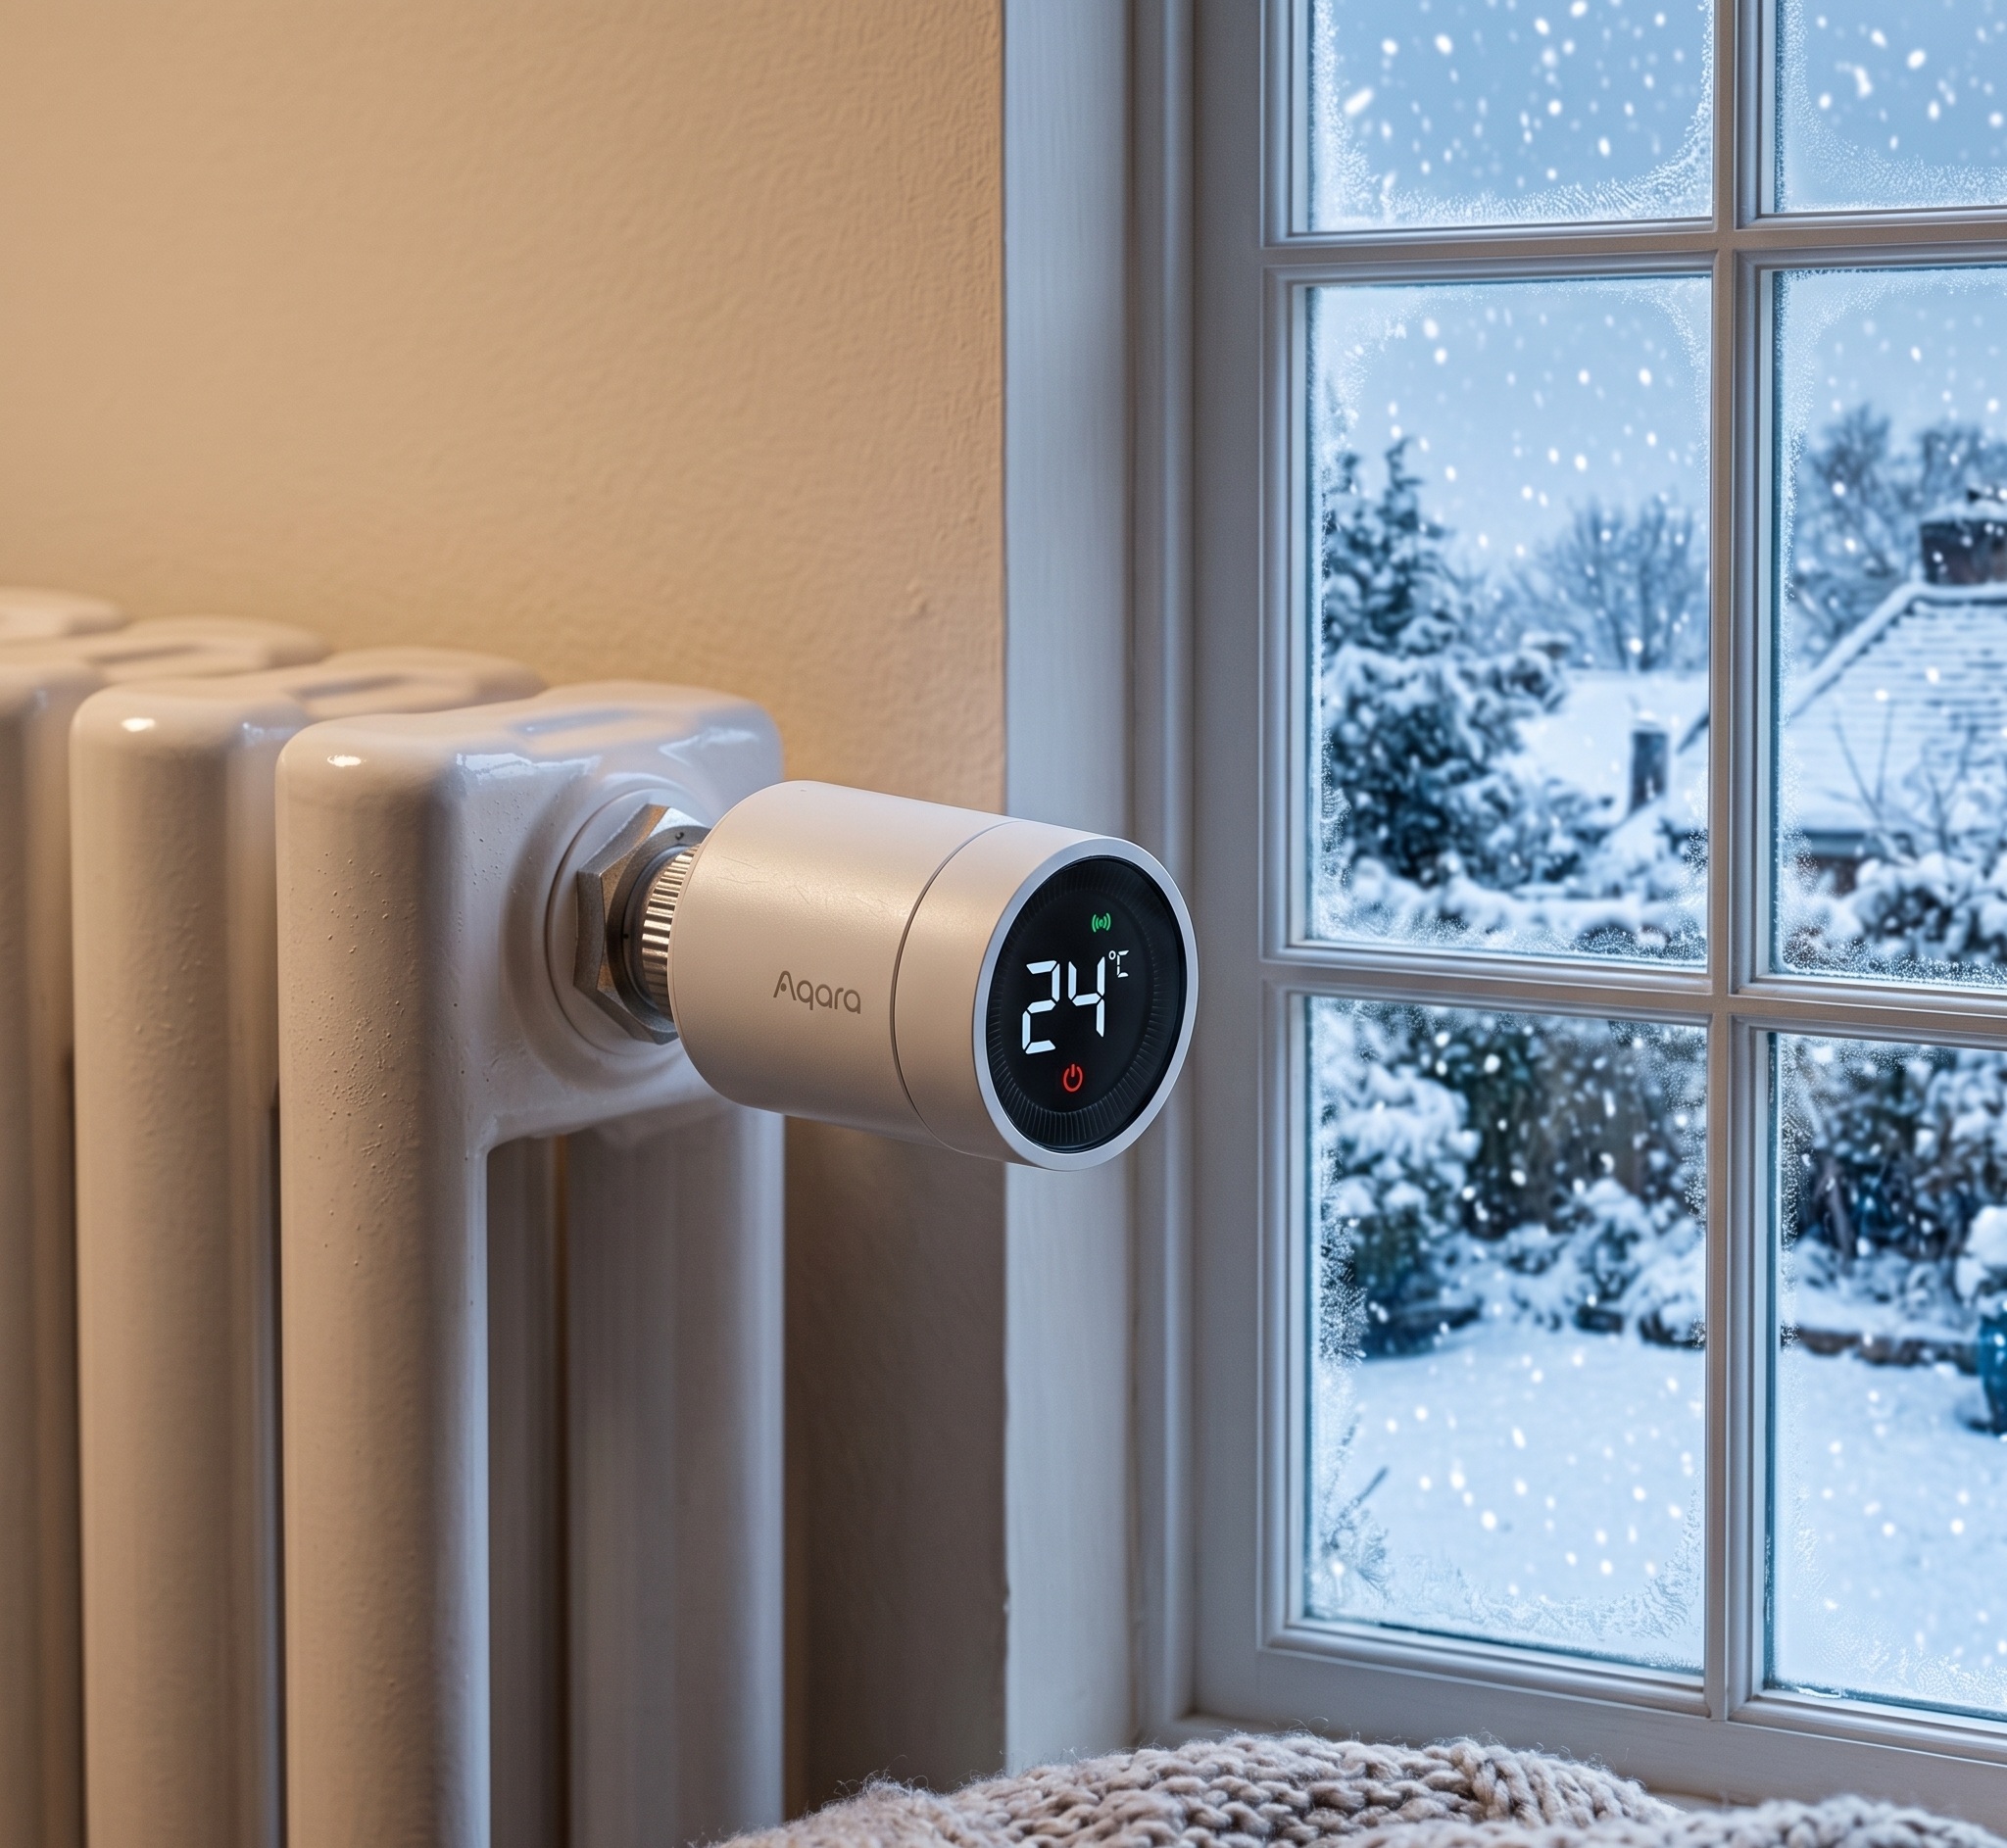
The Aqara Radiator Thermostat E1 (SRTS-A01) is one of the more capable Zigbee TRVs in its price range. It pairs cleanly to Zigbee2MQTT, exposes a full climate entity in Home Assistant, and doesn’t need an Aqara hub or cloud account to operate. The one thing it needs some help with is temperature accuracy: because the sensor is mounted on the radiator body, it reads hotter than actual room temperature while heating. Once you understand that and set up an external sensor, the whole thing works well.
This guide covers the complete local-first path: pairing, Home Assistant climate entity, the external temperature fix, window detection behavior, and the OTA and valve detection bits that don’t get much coverage elsewhere.
What you’ll need
- Aqara Radiator Thermostat E1 (SRTS-A01) — 2x AA batteries included
- A Zigbee coordinator — any USB dongle supported by Zigbee2MQTT (Sonoff Zigbee 3.0, HUSBZB-1, etc.)
- Zigbee2MQTT running and connected to Home Assistant via MQTT integration
- No Aqara hub required. The SRTS-A01 is a standard Zigbee 3.0 device and pairs directly to any Zigbee2MQTT coordinator.
- Optional but recommended: a separate room temperature sensor (any Zigbee, Wi-Fi, or Z-Wave sensor that already reports a
temperatureentity to Home Assistant) for accurate setpoint control.
If you’re still running through the Aqara hub for other devices, that’s fine. The TRV can join your Z2M network independently of any hub.
Pairing the SRTS-A01 to Zigbee2MQTT
Physical installation comes first. The SRTS-A01 ships with several valve adapters and should fit most common radiator valve types (RA, Danfoss RA, M30 × 1.5mm thread, and others). The installation guide in the box covers adapter selection; run through it before pairing.
Once the device is physically mounted:
- Open the Zigbee2MQTT frontend and click Permit join (All) — or limit join to a specific coordinator if you prefer.
- Enter pairing mode on the thermostat: remove the battery cover and locate the center ring button on the face of the device. Press and hold it for approximately 10 seconds until the blue LED begins flashing. The device stays in pairing mode for about 3 minutes.
- Watch the Z2M frontend. The SRTS-A01 should appear within a few seconds of the LED starting to flash. It will identify as
Aqara SRTS-A01(or occasionally by IEEE address first, then resolve the model name). - Wait for the calibration motor run. After pairing, the thermostat runs a brief auto-calibration sequence to measure valve travel. You’ll hear and feel it briefly turn. This is normal, so don’t touch the device during this.
- Disable permit join once the device is confirmed paired.
What success looks like: the device appears in Z2M with model SRTS-A01, battery percentage reported, and a climate entity available in Home Assistant.
What entities appear in Home Assistant
Once Z2M has the device and HA has picked it up via MQTT discovery, you’ll see a cluster of entities under the thermostat’s device entry:
Climate entity (main)
The core control surface. Exposes:
– system_mode: off or heat
– occupied_heating_setpoint: target temperature, 5–30°C in 0.5° steps
– local_temperature: what the on-device sensor currently reads
– Preset modes: manual, away, auto
Supporting entities
– child_lock — toggles the physical controls on the device
– sensor — selects which temperature source the TRV uses for control: internal or external
– valve_detection — enables the valve diagnostics (covered below)
– valve_alarm — binary sensor; fires if a valve issue is detected
– window_detection — toggles the internal window-open detection (covered below)
– calibration — offset to apply to the local temperature reading (in °C)
– battery — percentage remaining
The auto preset activates the device’s built-in weekly schedule. Most HA users skip this and drive setpoint directly from HA automations instead. It gives you finer control and lets you adapt to your specific heating patterns. If you do want to use the onboard schedule, Z2M supports sending a custom schedule payload, but the format is specific enough that you’ll want to check the Z2M device page for the current payload structure.
The internal temperature sensor problem
This is the thing that trips up most new SRTS-A01 users. The sensor on the thermostat reads the temperature of the radiator body, not the room. When the valve is actively heating, radiated heat from the radiator itself inflates the reading, sometimes by 3–5°C or more.
The practical consequence: if you set a target of 20°C and rely on the device’s own sensor, the thermostat shuts off well before the room actually reaches 20°C.
There are two ways to address this:
Option 1 — External temperature input (preferred)
Zigbee2MQTT exposes a sensor property (with values internal or external) and an external_temperature_input property. Set sensor to external first, then push your room sensor’s reading to external_temperature_input via MQTT. The thermostat then uses the value you push instead of its own reading when deciding whether to open or close the valve.
Option 2 — Calibration offset
If your heating pattern is predictable and your external sensor is always a known delta away from the internal reading, you can set a fixed calibration offset via the calibration entity. This is simpler but less accurate, because the offset from internal to actual room temperature changes as the radiator cycles.
Option 1 is more accurate. Option 2 is a reasonable fallback if you don’t have a separate sensor nearby.
Setting up an external room temperature sensor
You need a Zigbee (or Wi-Fi, or Z-Wave) temperature sensor in the same room, already reporting to Home Assistant. Any sensor that exposes a temperature entity works.
Switch the TRV to external sensor mode first
Before any external input has effect, the TRV must be told to use the external source. Publish once to the device’s set topic:
service: mqtt.publish
data:
  topic: "zigbee2mqtt/<your_trv_friendly_name>/set"
  payload: '{"sensor": "external"}'
Confirm the change in the Z2M device page (the sensor property should now read external). You can flip it back to internal the same way if you ever want to fall back to the on-device reading.
Blueprint approach (recommended for most users)
The HA community has two blueprints for this:
Blueprint A (original, widely used): uses the external_temperature_input property directly. Every time your external sensor reports a new temperature, it pushes that value to the TRV via MQTT. Available as a blueprint import from the HA community forum — search for “Z2M Aqara TRV E1 link external temperature sensor.”
Blueprint B (newer, posted in early 2026): uses the calibration offset approach rather than the external input property. The author found this more stable on certain firmware versions where the external input property was handled inconsistently. Same search, look for the 2026 thread on Aqara E1 external temperature calibration.
If you’re on a recent firmware version (available via OTA, covered below), Blueprint A is the cleaner solution. If you see erratic behavior with external input, try Blueprint B.
Manual automation approach
If you prefer writing your own automation:
alias: "Push room temp to Aqara TRV"
description: "Updates TRV external temperature input when room sensor changes"
trigger:
  - platform: state
    entity_id: sensor.room_temperature_sensor  # replace with your entity
action:
  - service: mqtt.publish
    data:
      topic: "zigbee2mqtt/<your_trv_friendly_name>/set"
      payload_template: >
        {"external_temperature_input": {{ states('sensor.room_temperature_sensor') | float }}}
Replace <your_trv_friendly_name> with the Z2M-assigned name of your SRTS-A01. The payload format is straightforward and Z2M handles the rest.
A trigger that fires on state changes is sufficient. The TRV doesn’t need updates more frequently than your sensor reports, which is typically every 30–60 seconds for most Aqara and similar sensors.
Window detection: how it actually works
Window detection on the SRTS-A01 is commonly misunderstood. The window_detection toggle in Z2M does not connect to a door/window sensor. There’s no mechanism to feed an external open/close state into the thermostat.
What it actually does: the device monitors its own local temperature reading for a rapid drop, the kind of temperature fall consistent with a window opening suddenly. When it detects that pattern, it pauses heating for a short period, then resumes if the window-open pattern is no longer detected.
This is entirely internal: no Zigbee signal from a separate sensor is involved, and no HA automation runs.
The tradeoff: it works reasonably well for a suddenly opened window in a cold climate, but can false-trigger in rooms with uneven heat distribution or drafts. And since the internal sensor reads high during active heating, the detection logic is working against a baseline that’s already noisy.
For reliable window-open response, the better approach is an HA automation: when an actual door/window sensor opens, set the TRV’s system mode to off (or drop the setpoint to a frost-protection value); when it closes, restore the previous setpoint. That’s explicit, testable, and doesn’t depend on the thermostat’s internal inference.
Enabling valve detection and running OTA updates
Valve detection
The valve_detection toggle is worth enabling after installation. When active, the thermostat monitors for:
– Valve not seated correctly (installation issue)
– Valve mechanical failure
– Calibration problems
Issues surface on the valve_alarm binary sensor. If it fires shortly after installation, it usually means the adapter isn’t fully threaded or the auto-calibration didn’t complete cleanly. Remove, re-seat, and trigger calibration again by holding the center button briefly.
OTA updates
OTA firmware updates for the SRTS-A01 are available through Zigbee2MQTT’s OTA tab. Early firmware on some units had issues with report frequency — the device would report temperature changes less often than expected, making external temperature automation sluggish. Running the current firmware resolves this.
To trigger an OTA update in Z2M: navigate to the device, open the OTA tab, and click Check for updates. If an update is available, click Update. The process takes a few minutes; the device is unavailable during the update. Don’t interrupt power.
ZHA vs Zigbee2MQTT: what you lose
If you’re running ZHA rather than Zigbee2MQTT, the SRTS-A01 pairs and provides basic climate control. But several features are missing or unreliable in ZHA:
- Battery level reporting is often absent
- Built-in window detection is not surfaced
- The
external_temperature_inputpath is not exposed by default in stock ZHA quirks (community pull requests have added support, but integration into mainline has lagged)
That last one matters significantly. Without external temperature input in ZHA, you’re stuck with either the noisy internal sensor or the calibration offset workaround — no clean automation path to push room temperature to the device.
For this device specifically, Zigbee2MQTT is the better integration layer.
No cloud, no Aqara app
Once the SRTS-A01 is paired to Zigbee2MQTT, it has no dependency on Aqara’s cloud, the Aqara Home app, or a Mi Home account. Everything runs over Zigbee → Z2M → MQTT → Home Assistant.
The device doesn’t need an internet connection to operate. It doesn’t phone home. There’s no account registration, no Aqara Hub required. This is the case for all Zigbee 3.0 devices used with Z2M; the Aqara hub is only needed if you’re going the HomeKit or Aqara Home app route.
If you’re also running Aqara hubs for other devices and wondering whether they interfere: they don’t, as long as your Zigbee channels aren’t conflicting. The TRV will simply join whichever coordinator it was paired to.
Frequently asked questions
Does the Aqara Radiator Thermostat E1 work without an Aqara hub?
Yes. The SRTS-A01 is a standard Zigbee 3.0 device. It pairs directly to a Zigbee2MQTT coordinator and works fully locally without any Aqara hub, Aqara Home app, or cloud account.
How do I connect the Aqara TRV E1 to Home Assistant?
Pair it to Zigbee2MQTT using the center button hold sequence (about 10 seconds until the blue LED flashes), then let Z2M’s MQTT discovery create the entities in Home Assistant automatically.
How do I set an external temperature sensor on the Aqara E1 thermostat?
First set the sensor property to external via MQTT. Then push your external sensor’s reading to the external_temperature_input property. A community blueprint in the HA forum automates the push step: it sends your sensor’s value to the TRV via MQTT whenever the sensor updates.
Does the Aqara thermostat E1 window detection need a separate window sensor?
No, and that’s an important distinction. The built-in window detection works by sensing a rapid temperature drop on the internal sensor. It doesn’t accept input from a Zigbee window/door sensor. If you want reliable window-linked heating control, set up an HA automation that uses an actual window sensor to adjust the TRV setpoint directly.
What’s the difference between the Aqara TRV E1 in Zigbee2MQTT vs ZHA?
Zigbee2MQTT exposes the full feature set: explicit internal/external sensor switching, external temperature input, window detection, battery reporting, and valve diagnostics. ZHA’s stock support lags on several of these. For this device, Z2M is the recommended integration.
The SRTS-A01 is a solid local-first TRV once you understand the internal temperature sensor limitation and work around it. Get the external sensor automation in place, enable valve detection, run the OTA update, and you have a genuinely capable radiator controller with no cloud footprint.