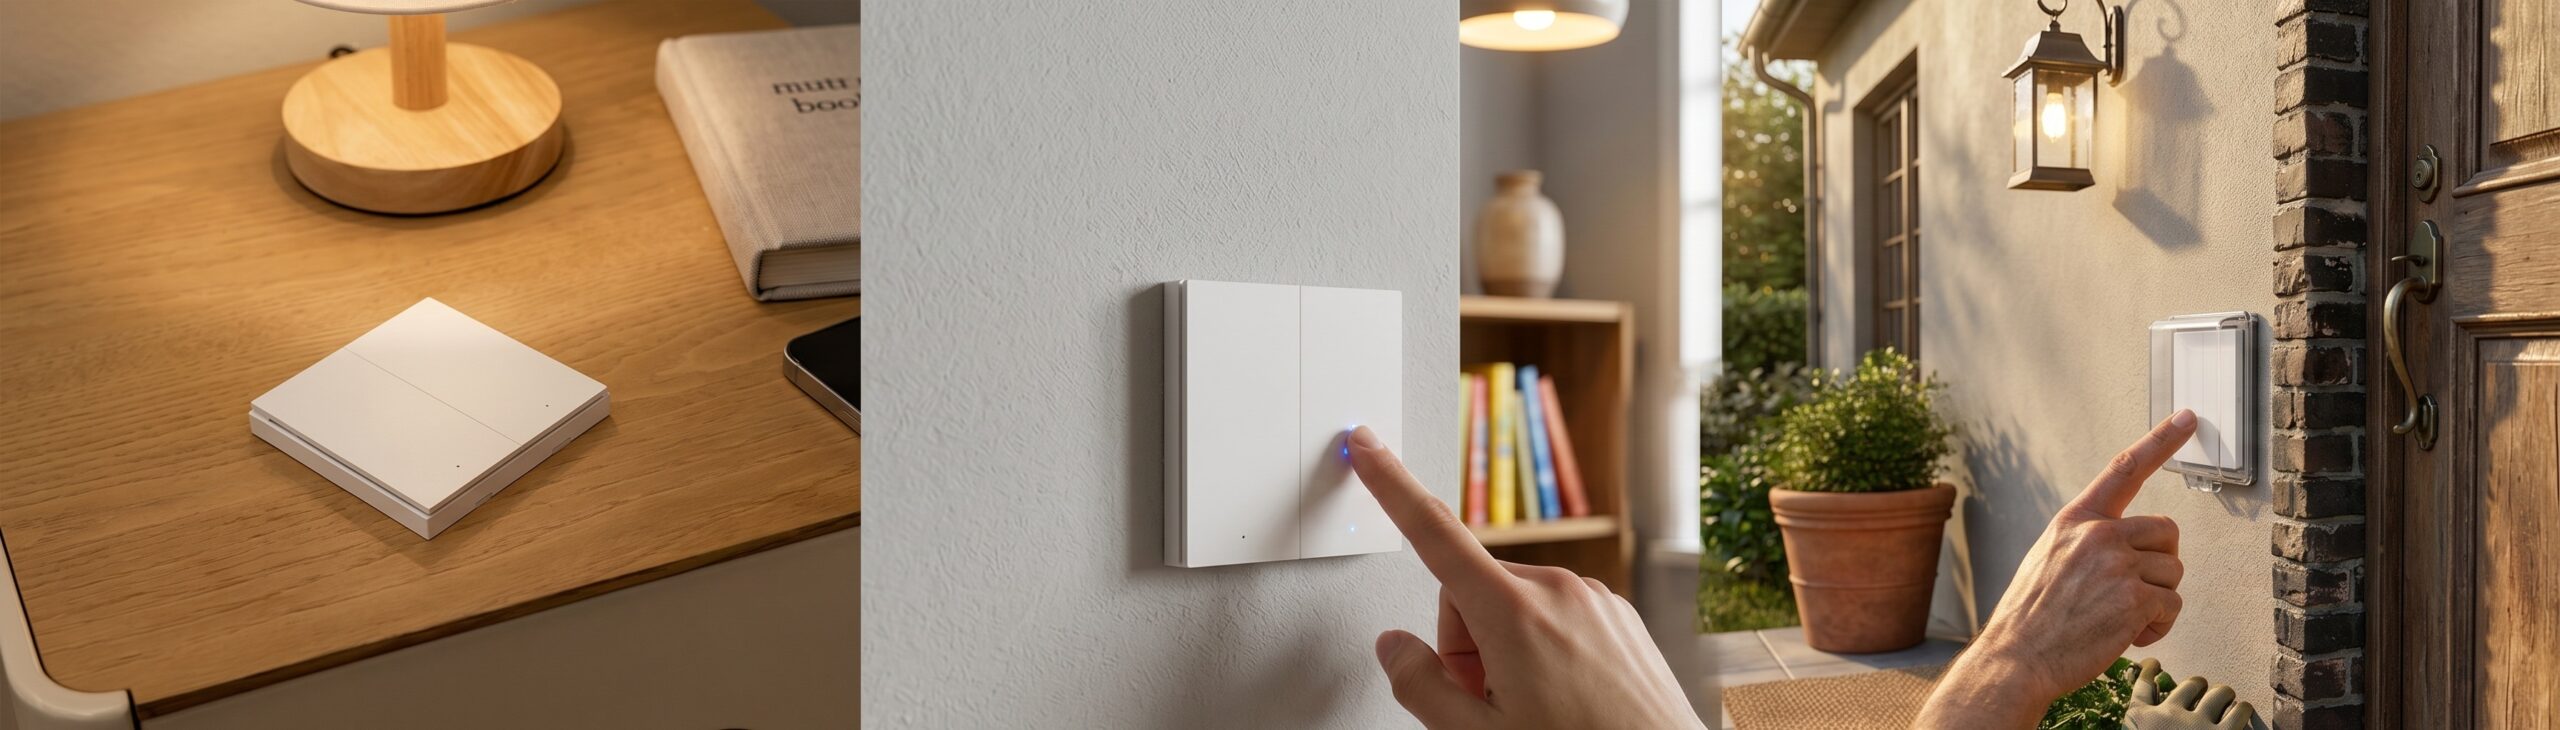
Aqara D1 Triple Wall Switch in Home Assistant via Zigbee2MQTT
The Aqara D1 triple rocker is one of those switches that looks straightforward until you pair it and start debugging why your automations aren’t firing. The hardware is solid — three independent channels, compact 86mm plate — but there’s a specific state-reporting bug that has confused enough people that it’s been tracked across multiple GitHub issues for years. This guide covers the full setup plus an honest account of that bug and what actually helps.
There are two SKUs in this family: QBKG25LM (no neutral wire) and QBKG26LM (with neutral). They share the same form factor and pairing process but differ in a few ways that matter.
QBKG25LM vs QBKG26LM: which one do you have?
Both are triple-rocker switches with three independent channels: left, center, and right. The physical plate is 86 x 86 mm — standard Chinese and Asian wall-box sizing. If you’re in the EU, check whether your switch box fits this plate before ordering; it’s not the EU standard form factor.
No-neutral vs with-neutral: what changes
QBKG25LM requires no neutral wire. It works with only the live and load wires at the switch position, which is common in older Asian-market wiring where neutral wasn’t run to the switch box. The tradeoff is a minimum load requirement per channel (3W minimum) — LEDs under that threshold may flicker or not switch reliably.
QBKG26LM requires a neutral wire but adds power monitoring: wattage, voltage, and cumulative energy per device. It also raises the maximum load to 2200W across all three channels combined, versus 1600W per channel on the no-neutral variant.
Mesh routing: QBKG26LM acts as a router, QBKG25LM does not
This is worth knowing if you’re placing switches at the edges of your Zigbee mesh. QBKG26LM (with neutral, always powered) acts as a Zigbee router and strengthens the mesh for surrounding devices. QBKG25LM is an end device only — it relies on nearby routers but doesn’t extend coverage for others.
If you have both types available and are covering a larger home, placing the QBKG26LM strategically can matter for mesh stability.
What you need
- A Zigbee coordinator running Zigbee2MQTT (Z2M). Any supported coordinator works — CC2652P-based dongles, Sonoff Zigbee 3.0 USB, or similar.
- Zigbee2MQTT installed and running. This guide assumes you’re familiar with basic Z2M operation. If you’re starting from scratch, our broader walkthrough of pairing Xiaomi and Aqara Zigbee devices to Zigbee2MQTT covers coordinator selection and the Xiaomi router-compatibility trap in detail.
- Home Assistant with the MQTT integration configured and pointing at the same broker Z2M uses.
Both QBKG25LM and QBKG26LM pair identically from Z2M’s perspective. The process below applies to both.
Pairing the D1 with Zigbee2MQTT
Reset from a previous Aqara hub first
If the switch was previously paired to an Aqara hub (M2, M3, E1), it needs to be reset before Z2M will accept it. Devices that were cloud-provisioned tend to silently reject new pairing attempts without any obvious error on either side.
To reset: hold any of the three rockers for about five seconds until the LED starts flashing. The device is now in pairing mode.
Pairing steps
- In Z2M, open the frontend and click “Permit join (all).” Or target a specific router if you want the device joined to a particular mesh node.
- On the switch, hold any rocker for five seconds until the LED flashes. If the device was already reset and you’re re-pairing, a shorter press-and-hold may suffice — the LED pattern indicates it’s searching.
- Z2M should discover it within 30–60 seconds. The device will appear in the Devices list as either “Aqara Smart Wall Switch D1 (no neutral, triple rocker)” for QBKG25LM or the equivalent QBKG26LM entry.
- Once paired, open the device page in Z2M and verify all three channels are listed.
If it doesn’t pair on the first attempt, move the coordinator or switch closer together. The QBKG25LM is an end device, so it needs a clear path to either the coordinator or a router during the initial join.
Entities you get in Home Assistant
Once paired and with MQTT integration running, HA will auto-discover the device entities.
Switch entities (left, center, right)
You’ll see three switch entities corresponding to the three rockers. Each one controls the relay for that channel independently. Toggling any of them from HA turns the connected load on or off.
The entity names follow Z2M’s standard pattern — typically switch.device_name_left, switch.device_name_center, switch.device_name_right. Rename them in HA to match what’s actually wired to each channel.
For QBKG26LM, you’ll also get sensor entities for power (W), voltage (V), and energy (kWh) — one set per channel.
Action events and automations
The D1 exposes a set of action event types covering individual button presses and combination presses:
- Single and double press per rocker:
left_single,left_double,center_single,center_double,right_single,right_double - Combination presses:
single_left_center,single_left_right,single_center_right,double_left_center,double_left_right,double_center_right,single_all,double_all
The exact list exposed by your install can vary with Z2M version, so check the device page in your own frontend for the authoritative set. These events come in on the Z2M MQTT topic for the device under the action property. In HA, they’re available as device triggers for automations — you can use them in the “Trigger” section of an automation with trigger type “Device” and the action type you want.
This is where decoupled mode becomes useful.
Configuration options
Decoupled mode — separating buttons from relays
By default, each rocker controls its own relay directly. Pressing the left button toggles the left relay. That’s control_relay mode.
Decoupled mode changes that: the button press generates an MQTT action event but does not toggle the relay. The relay only changes state if your automation tells it to. This lets you wire a load to the relay and still use the physical button to trigger a completely different action — or to trigger an automation that controls multiple lights at once, not just the one wired to that channel.
You can set decoupled mode per channel. In Z2M, open the device’s “Exposes” tab and look for the operation-mode controls. Depending on your Z2M version these may appear as a single operation_mode or as per-channel keys such as operation_mode_left, operation_mode_center, and operation_mode_right. Set each to either control_relay or decoupled.
To set this via MQTT directly:
Topic: zigbee2mqtt/<friendly_name>/set
Payload: {"operation_mode_left": "decoupled"}
If your install exposes a single operation_mode key instead, use that name in the payload. Repeat for center and right as needed — each channel is independent.
Once a channel is in decoupled mode, automations must explicitly call switch.turn_on or switch.turn_off on the relay entity if you want the load to respond to that button. The automation will trigger on the action event and then control whatever entities you tell it to.
Power outage memory
This setting makes each relay restore its last known state after a power interruption. Without it, all three channels default to off after power loss — which is the safer default, but not always what you want for lights that should come back on.
One reporting quirk worth knowing: some users find that setting power outage memory via MQTT alone doesn’t appear to take effect until a physical button press happens on the affected channel. If you set it and the device doesn’t seem to honor it, try a single physical press per channel and re-check the state. Behavior here may vary by firmware version.
LED night disable and flip indicator
Two LED behavior options worth knowing:
- LED night disable: disables the LED indicator overnight. Useful in bedrooms or wherever a persistent LED glow is annoying at night.
- Flip indicator: inverts the LED behavior — LED on when relay is off, LED off when relay is on. Useful if you prefer “indicator shows current state of the load” rather than “indicator shows button position.”
Both are exposed as toggle entities in HA via Z2M.
Anti-flicker vs quick response mode
The switch offers two relay response modes:
- Quick response: relay toggles as fast as possible after button press. Lower latency, but may cause visible flicker on some LED loads.
- Anti-flicker: introduces a brief delay to reduce flicker artifacts. Slightly slower perceived response but cleaner for LED-heavy setups.
The difference is subtle in most installations. If you’re running incandescent-equivalent loads or dimmable LEDs that flicker on toggle, try anti-flicker mode. Otherwise, quick response is fine.
OTA firmware updates
Both QBKG25LM and QBKG26LM support OTA firmware updates via Z2M, which handles the update process. Given that a specific firmware version is suspected to worsen the state-reporting issue (more on that below), keeping firmware current is worth doing.
Known issues
Button presses not showing in Home Assistant
This is the most-reported problem with this device, and it’s genuinely frustrating: you press a physical button, the light toggles correctly, but HA doesn’t register the state change and no action event appears in the Z2M log.
The behavior: the relay is physically toggling — the load responds. But the switch is not sending the corresponding MQTT state update or action event to Z2M. From HA’s perspective, the entity is out of sync with reality.
This has been reported across multiple coordinator types and is tracked in the Zigbee2MQTT issue tracker, with reports going back years. The QBKG26LM has an additional variant where the gang state doesn’t sync after a physical press.
It’s not a one-time report from one person — it’s a sustained pattern across different hardware combinations.
What to try when state reporting is intermittent
No single fix resolves this for everyone, but these are the things that have helped across the community reports:
Distance and mesh quality. The most consistent factor is proximity to the coordinator or a mesh router. End devices (QBKG25LM) are particularly sensitive to this. If state updates are dropping, try moving the coordinator closer or pairing a router device between the switch and coordinator.
Re-pair the device. Some users find that re-pairing from scratch (full factory reset, remove from Z2M, re-add) resolves intermittent state reporting. It’s not clear why, but it seems to reinitialize whatever state the device is tracking.
Check Z2M version. Make sure Z2M is on a current release. Some versions had handling issues with this device that were later corrected.
OTA update the device. If Z2M shows a firmware update available for the switch, apply it. A specific firmware version on this device is suspected to make state reporting worse — updating may move you off that version.
Accept it as a characteristic. If you’re using the switch in decoupled mode for automations, the state of the relay entity in HA matters less — you’re driving state via automation anyway. Some users restructure their automations to work around the sync issue rather than fixing it.
This remains an open issue in the upstream Z2M repository. If you find something that resolves it completely, the GitHub threads in the Z2M issue tracker are where that would get confirmed.
Frequently asked questions
Why are my Aqara D1 switch button presses not showing in Home Assistant?
The switch is toggling its relay but not sending the state update to Zigbee2MQTT. This is a documented issue with both QBKG25LM and QBKG26LM. Check mesh distance, try re-pairing, and update Z2M and device firmware. No universal fix exists.
What is the difference between QBKG25LM and QBKG26LM?
QBKG25LM requires no neutral wire, has a 3W minimum load per channel, and is a Zigbee end device (no mesh routing). QBKG26LM requires a neutral wire, adds power monitoring (W, V, kWh per channel), and acts as a Zigbee mesh router.
How do I set up decoupled mode on the Aqara D1 switch?
In Z2M, open the device’s Exposes tab and set the operation-mode control (a single operation_mode, or per-channel operation_mode_left/_center/_right depending on your Z2M version) to decoupled. Each channel is independent. In decoupled mode, pressing the button generates an action event without toggling the relay — your automation handles what happens next.
Does the Aqara D1 switch work without a neutral wire?
Yes — the QBKG25LM is specifically the no-neutral variant. It works with just the live and load conductors. Minimum load is 3W per channel; LEDs below that may flicker.
Can I use the Aqara D1 switch for automations in Home Assistant?
Yes. The device exposes action events for single and double presses per rocker, plus combination presses (check your Z2M device page for the exact list). Set the channel to decoupled mode if you want the physical button to trigger automations independently of the relay.
If you’re running a two-gang variant instead, the Aqara H1 no-neutral switch uses the same pairing and decoupled-mode logic and is a useful companion if you’re mixing form factors in one home.
For readers who’d prefer the Aqara hub path rather than Zigbee2MQTT, the Aqara Hub M2 also works with these switches and gives you local HomeKit control without needing a separate coordinator.